|  | | Accounts are free. Join #retro on irc.fxnet.org, identify with NickServ and type !req. |
| |
|
|  | | |
| | #retro on irc.fxnet.org
6697 ssl · 6667 plain
modern + vintage clients welcome |
| |
|
| | | |
| | 3 people in #retro
okawari, synmuffin, thelounge76
nobody on the FTP
last upload: Archived Windows 3.0 - 11 ISO B... by archiveorg, 35d ago |
| as of 21:42 EST ·  |
|
|
| | | |
| | | releases | 2,186 | | last 24h | +0 | | online | 1.7 TB | | library | 1.4 TB | | members | 1 | | updated | 2026-11-18 21:42 |
|
|
|
| | | |
| |
| | 
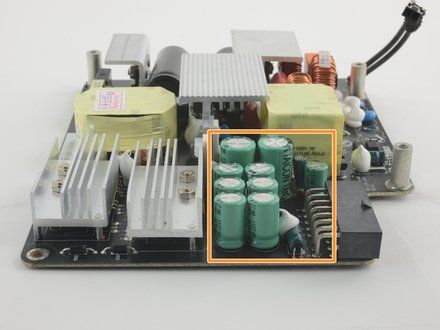
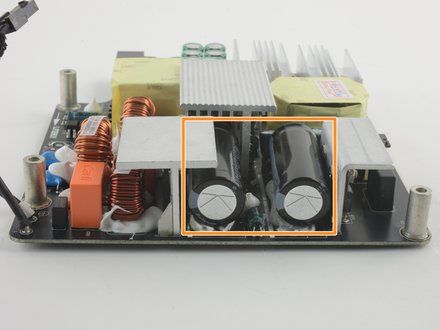
• Capacitors come in various shapes and sizes, but the large cylindrical capacitors typically are the ones that store enough energy to be potentially dangerous.
• NOTE: Aluminum and Tantalum Electrolytic capacitors can pack a lot into a relatively small volume. They're well suited to high-voltage applications because of their relatively high maximum voltage ratings.
• Aluminum electrolytic capacitors, the most commonly used for high voltage, usually look like little tin cans, with both leads extending from the bottom.
|
|
|
| | | |
| | 
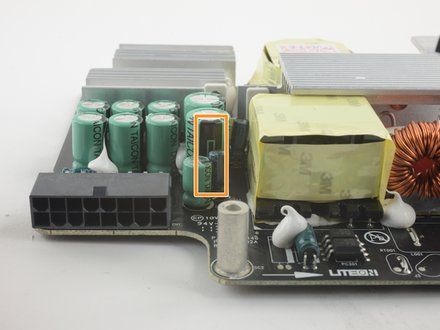
• Identify all the capacitors in your device.
• Locate where the capacitor's cathode will be by finding the side of the capacitor marked with a "-" (minus) symbol. This side will correspond to the negative lead, or cathode.
|
|
|
| | | |
| | 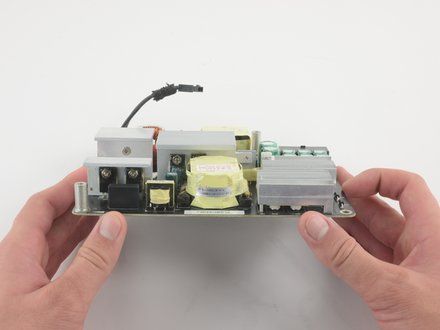

• Flip the circuit board over to access the capacitor's leads.
• CAUTION: Avoid touching any metal when handling your electronics. Before being safely discharged, circuit boards may contain excess energy that can be dangerous.
|
|
|
| | | |
| | 
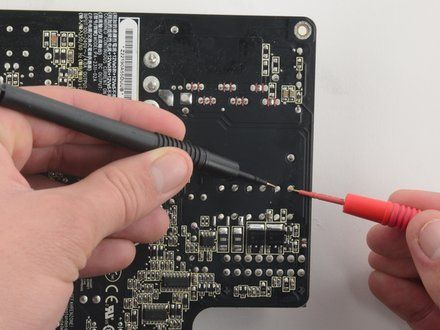
• Touch the black, or negative, tip of the discharge pen to the capacitor's cathode.
• NOTE: This is the lead that you previously identified with the minus symbol on the side of the capacitor.
• Touch the red, or positive, tip of the discharge pen to the other lead, the capacitor's anode.
• CAUTION: Do NOT connect the positive and negative terminals of the capacitor together with standard wire, screwdrivers or wrenches as this will damage the capacitor and could cause bodily harm to the user.
|
|
|
| | | |
| | 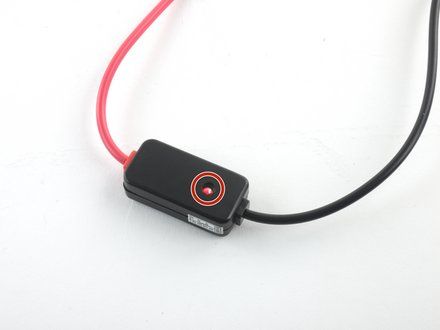
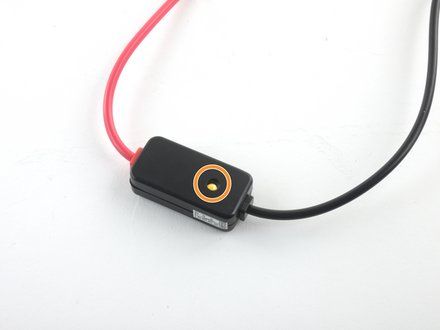
• Watch the LED indicator on your discharge tool. If there is still a charge in the capacitor, the LED should glow red until the capacitor is fully discharged.
• Once the light is no longer on, your capacitor is fully discharged and safe to handle.
|
|
|
| | | |
| | | Your capacitor is now safe to be handled, shock free! |
|
|
| | | |
|

















