|  | | Accounts are free. Join #retro on irc.fxnet.org, identify with NickServ and type !req. |
| |
|
|  | | |
| | #retro on irc.fxnet.org
6697 ssl · 6667 plain
modern + vintage clients welcome |
| |
|
| | | |
| | 3 people in #retro
okawari, synmuffin, thelounge76
nobody on the FTP
last upload: Archived Windows 3.0 - 11 ISO B... by archiveorg, 35d ago |
| as of 21:42 EST ·  |
|
|
| | | |
| | | releases | 2,186 | | last 24h | +0 | | online | 1.7 TB | | library | 1.4 TB | | members | 1 | | updated | 2026-11-18 21:42 |
|
|
|
| | | |
| | | |
| Device | Electronics Skills |
| Difficulty | Very easy |
| Time | 2 - 5 minutes |
| Steps | 5 |
This guide is by Geoff Wacker on iFixit and is licensed under Creative Commons Attribution-NonCommercial-ShareAlike 3.0. ByteRot mirrors it for non-commercial preservation: formatting changed and photos resized for old browsers; full-size photos and the text are on the FTP in /DOCS/REPAIR. Original guide >>
Use this guide to learn how to use heat shrink tubing to repair frayed sheathing on a wire or cable.
Tools: Utility Scissors; Heat Gun; Ruler
Parts: 2-13mm 2:1 Heat Shrink Tubing |
|
|
| | | |
| | 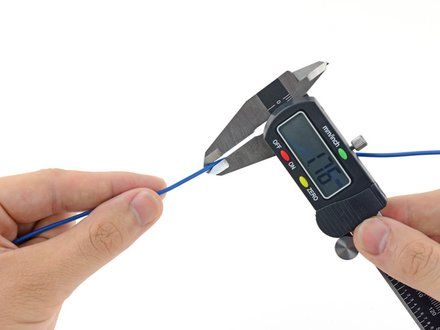
• Measure the diameter of the wire, and then choose a piece of heat shrink that will be large enough to slide onto the wire before heating but will still provide a snug fit once heated. The shrunken diameter should be slightly smaller than the wire's diameter to ensure a tight fit.
• NOTE: Heat shrink tubing has a shrink ratio that dictates how much the tubing will shrink once heated, so it's important to choose the right ratio for the job. For example, a length of 2:1 ratio tubing with a diameter of 2 mm will shrink to a diameter of 1 mm.
|
|
|
| | | |
| | 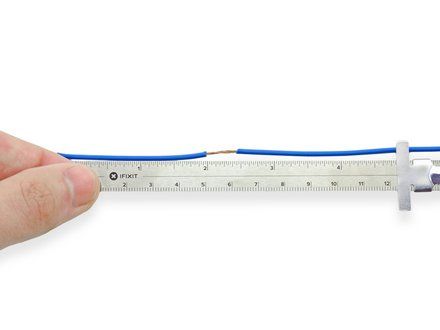
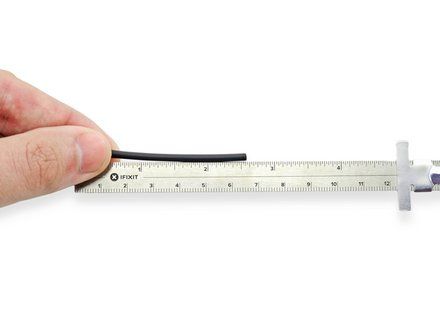
• Measure a length of heat shrink tubing that is slightly longer than the damaged section of wire.
• NOTE: Most heat shrink tubing will also shrink longitudinally (around 5-15%), so be sure to give yourself enough tubing to cover the exposed area after heating.
|
|
|
| | | |
| | 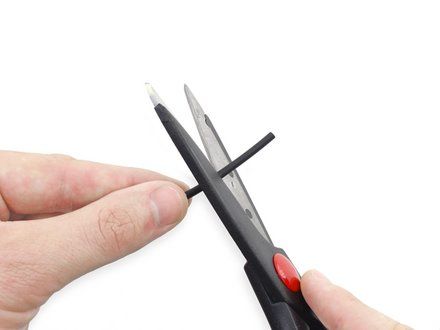
• Use a pair of scissors to cut the tubing to the appropriate length.
|
|
|
| | | |
| | 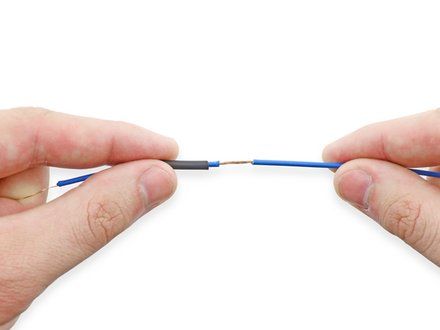
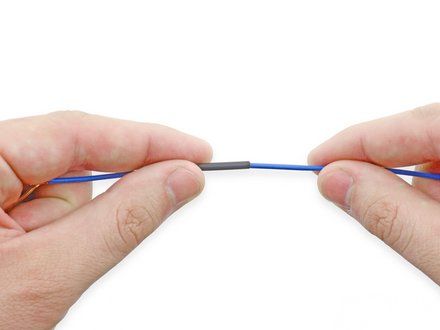
• Slide the tubing onto the wire so that it covers the damaged/exposed section.
|
|
|
| | | |
| | 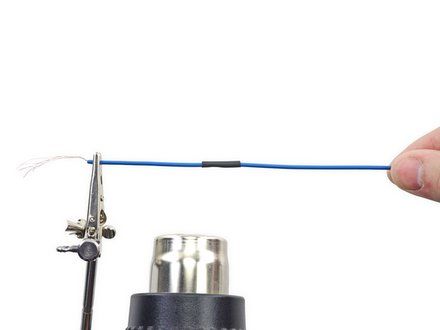
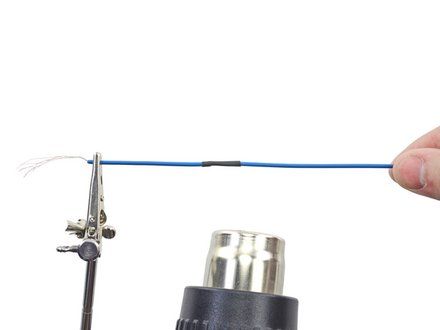
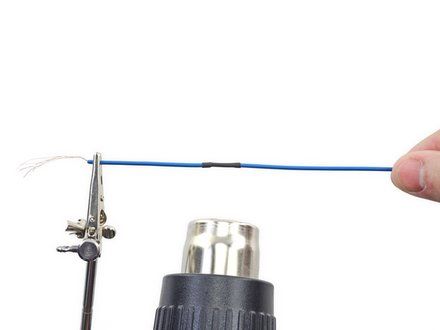
• Use a heat gun to shrink the tubing.
• CAUTION: Keep the heat gun moving back and forth along the length of tubing, as staying in one place can damage the wire even further.
• Continue heating the tubing until it is tightly secured to the wire.
|
|
|
| | | |
|

















