|  | | Accounts are free. Join #retro on irc.fxnet.org, identify with NickServ and type !req. |
| |
|
|  | | |
| | #retro on irc.fxnet.org
6697 ssl · 6667 plain
modern + vintage clients welcome |
| |
|
| | | |
| | 3 people in #retro
okawari, synmuffin, thelounge76
nobody on the FTP
last upload: Archived Windows 3.0 - 11 ISO B... by archiveorg, 35d ago |
| as of 21:42 EST ·  |
|
|
| | | |
| | | releases | 2,186 | | last 24h | +0 | | online | 1.7 TB | | library | 1.4 TB | | members | 1 | | updated | 2026-11-18 21:42 |
|
|
|
| | | |
| |
| | 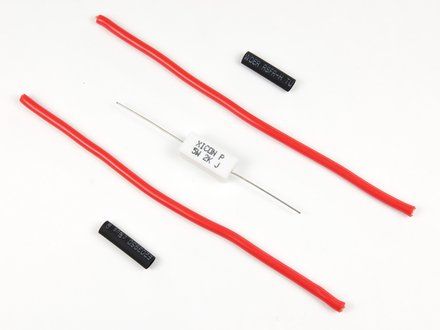
• To construct a capacitor discharge tool, first gather the necessary materials. These include:
• Two lengths of wire. Minimum wire requirements is 12AWG, 600 volt rating for large electrolytic capacitors used in power supplies, electric motor start circuits and camera flash circuitry
• A resistor rated to dissipate the amount of thermal energy created when discharging the capacitor. Minimum requirements for resistor is 2k OHM 5w for small capacitors, 20k OHM 5w for large electrolytic capacitors used in power supplies, electric motor start circuits and camera flash circuitry.
• Shrink tubing
|
|
|
| | | |
| | 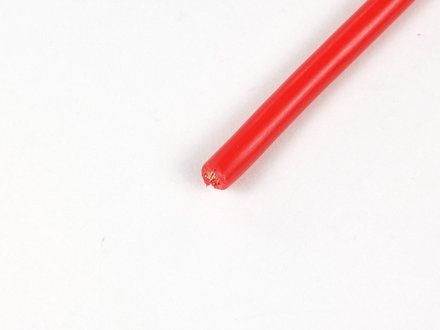
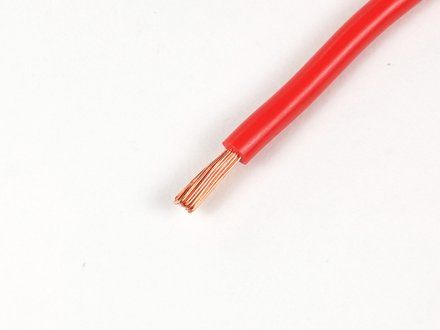
• Begin the process by stripping one side end of each length of wire.
• NOTE: To ensure a solid solder joint, strip at least .25" of insulation off the wire.
|
|
|
| | | |
| | 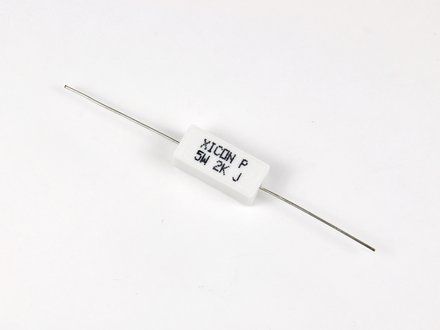
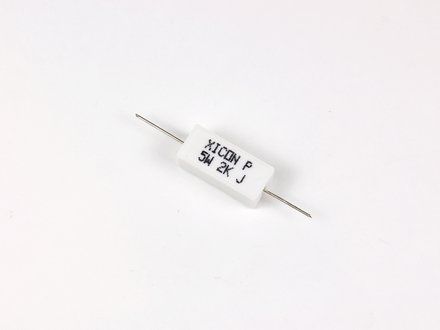
• Next, trim both of the leads leaving the resistor to match the length of insulation stripped off the wires in the previous step.
|
|
|
| | | |
| | 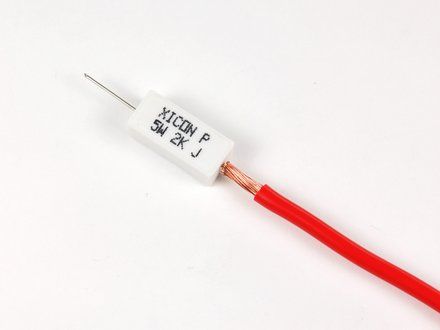
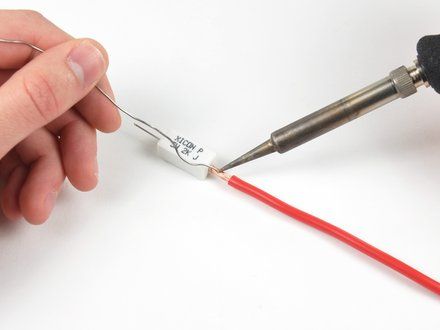
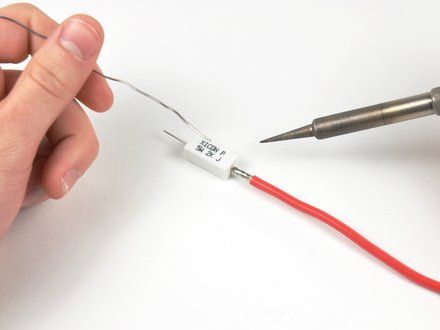
• Join the lead leaving the resistor to the stripped end of the wire by twisting the two together.
• NOTE: The wire we are using is quite thick, so we inserted the resistor lead down the center of the conductor portion of the wire and twisted the wire against it as tightly as possible.
• Solder (https://www.ifixit.com/en-ca/products/fixhub-power-series-smart-soldering-iron) the wire to the resistor.
• CAUTION: It is essential that enough solder flows through the wire to create a permanent bond between the two pieces.
|
|
|
| | | |
| | 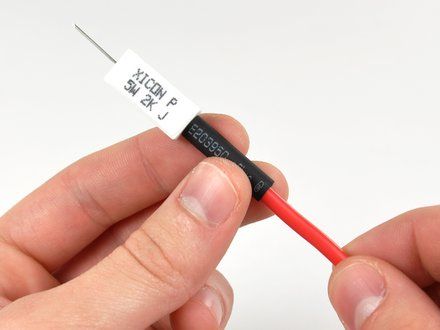
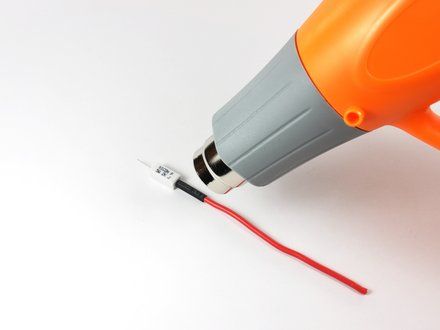
• Slide a section of shrink tubing up the wire, making sure to completely cover up the solder joint and any exposed wire.
• Use a heat gun or lighter to shrink the tubing over the joint, making sure it is positioned to cover all exposed wire.
|
|
|
| | | |
| | 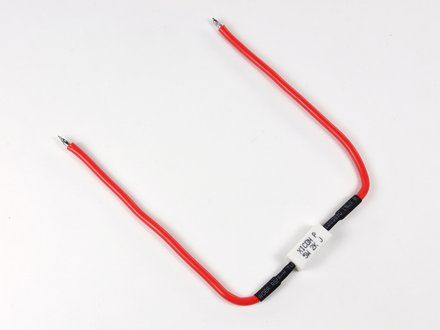
• Repeat the above process for the other side of the resistor.
• To complete the discharge tool, strip the ends of the wires.
• NOTE: To discharge from small points, it may be helpful to cut the exposed ends of wire into a point shape and solder them to maintain the shape. Alternatively, the probes commonly used on multimeters can be soldered to the wires to create a more precise discharge tool.
• NOTE: For large electrolytic capacitors used in power supplies, electric motor start circuits, and camera flash units, you may want to solder one end to a large alligator clip and the other to a well insulated screwdriver.
|
|
|
| | | |
| | 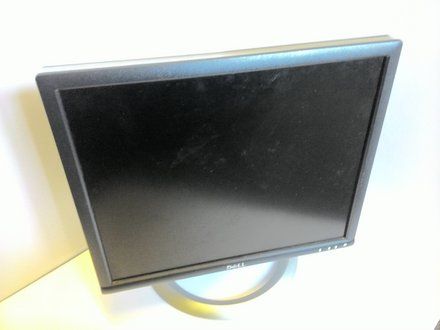
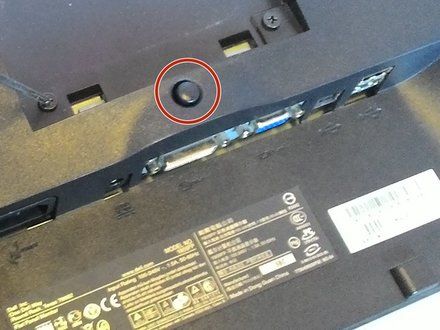
• Before replacing the capacitors, open the monitor and find the power board. First, remove the monitor from the stand.
• The button to remove the stand is located on the back of the monitor, above the ports.
|
|
|
| | | |
| | 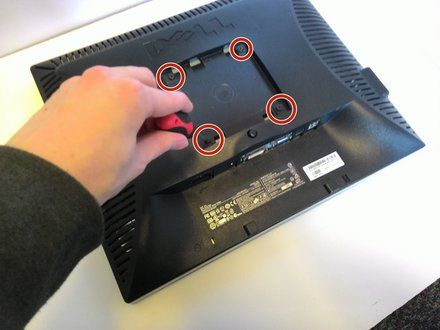
• Remove the 4 black screws on the back of the monitor. This detaches the screen and housing from the case internally.
|
|
|
| | | |
| | 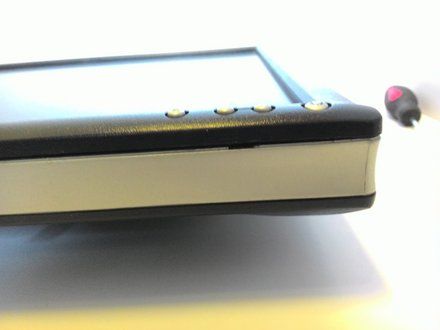
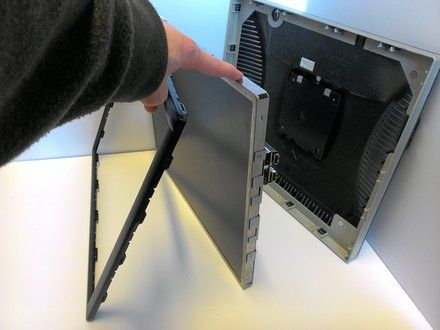
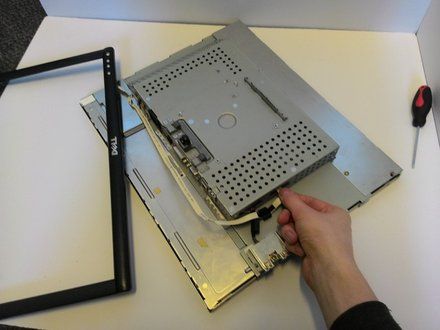
• Flip the monitor around and locate the two slots on the edges. These slots are below the screen where the faceplate is attached.
• Use a flat tool (such as a flathead screwdriver) to pop the front frame off. It is attached via plastic snaplocks and will come off with some prying.
• Once the faceplate is removed, the monitor can be removed from the housing, leaving the monitor and the faceplate attached with a ribbon wire. The wire can now be pulled from the slot, fully removing the faceplate from the monitor.
|
|
|
| | | |
| | 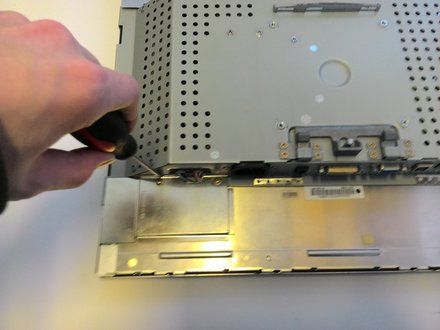
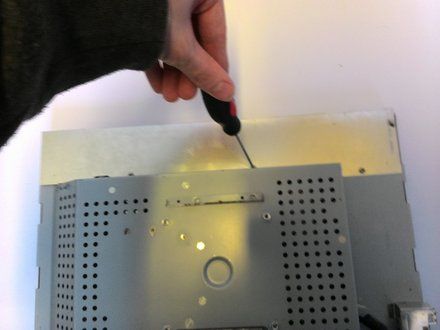
• Remove the plates protecting the wires. There are a total of 5 screws holding two plates onto the top and bottom.
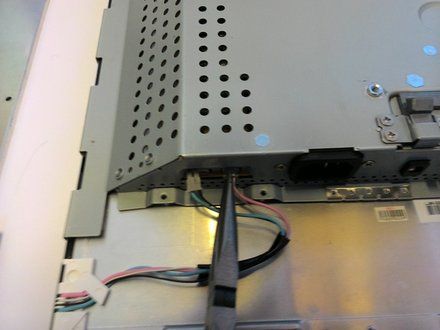
• With the plates removed, we can now unplug the 2 green and 2 pink wires connecting the electronics to the screen. This is best done with needle nose pliers, since the attaching head must be depressed and pulled at the same time.
|
|
|
| | | |
| | 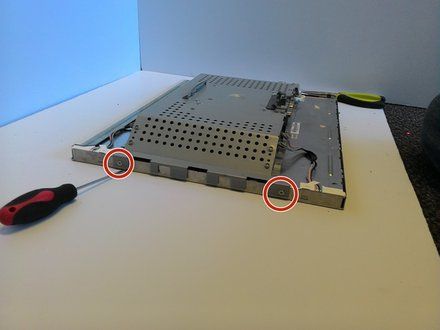
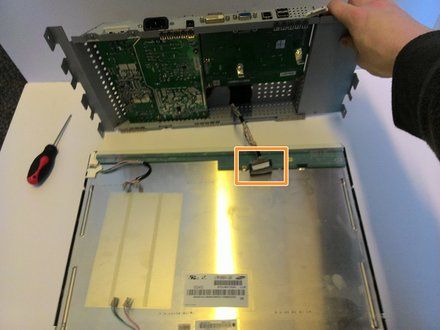
• Remove the 4 screws on the sides (two on each side) to detach the electronics housing from the screen.
• CAUTION: CAUTION! We are now to the point where the capacitors are accesible. Do not touch the circuit boards!
• Carefully lifting the housing off the screen, find and unlock the ribbon wire, then unplug it.
|
|
|
| | | |
| | 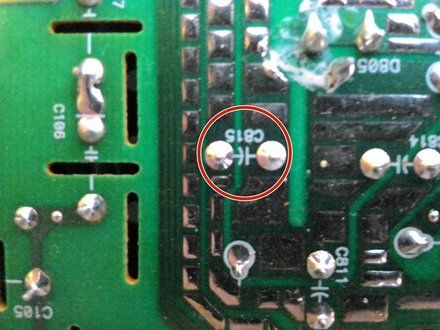
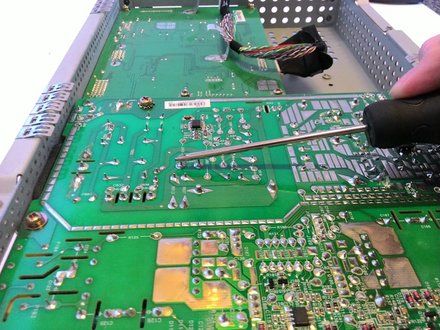
• CAUTION: Capacitors will discharge large amounts of current even if the device has been unplugged! Never allow the current to discharge through your body. Never touch the metal of the tool you use to discharge the current.
• NOTE: Capacitors are identifiable by the symbol shown in the picture.
• Making sure to only be touching the rubber handle of a screwdriver or another tool with a rubber grip, connect each set of capacitor leads with the metal of the tool. This may cause sparks or pops. Ensure every single possible capacitor is discharged before proceeding!
• NOTE: Alternatively, use the capacitor discharge tool to discharge the capacitors safely.
|
|
|
| | | |
| | 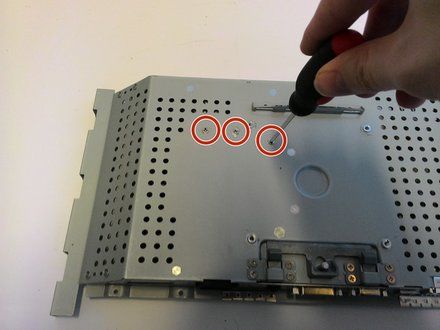
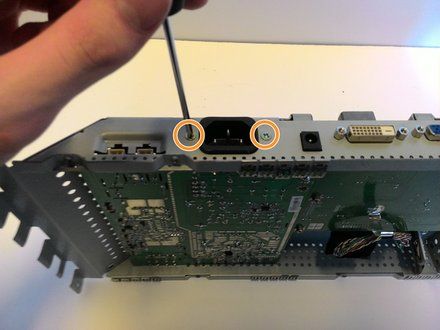
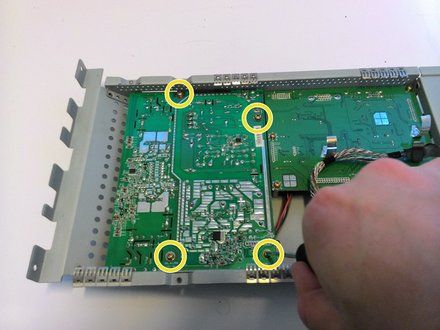
• After all the capacitors are safely discharged, flip the housing over and remove the three indicated screws from the back.
• Flip it onto its side and remove the two screws attaching the powerboard to the power port.
• Remove the four screws from the powerboard itself. This frees the powerboard from the housing.
|
|
|
| | | |
| | 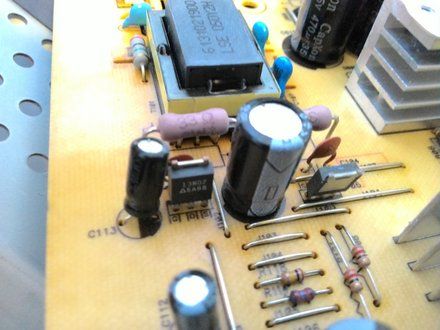
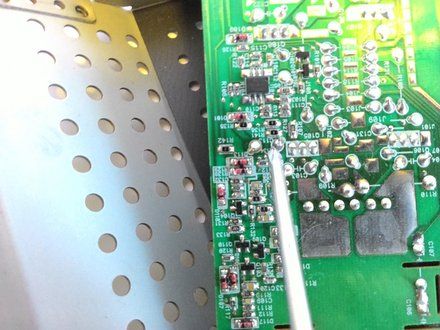
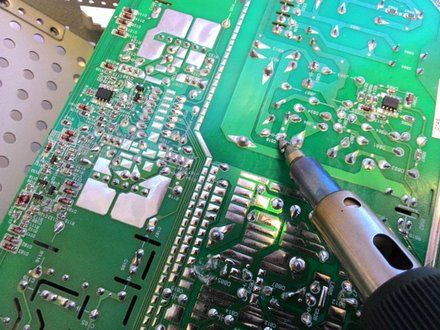
• Now you can remove and manipulate the circuit board.
• Locate any capacitors that are blown. The tops will be rounded rather than flat or could have dried orange fluid spilling from the tops. These need to be replaced. Identify their capacitance and voltage and remember these.
• Using a soldering iron and desoldering tape, remove the solder attaching any blown capacitors.
|
|
|
| | | |
| | 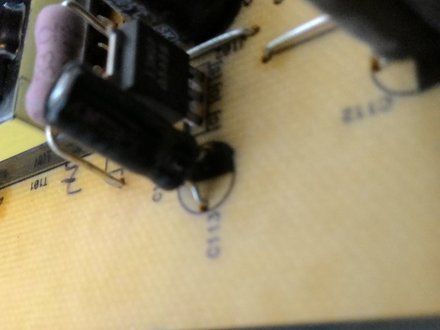
• Insert the new capacitors, ensuring that the negative is on the proper side via observing the capacitor and the board.
• Solder the new capacitors into the board.
|
|
|
| | | |
| | | To reassemble your device, follow these instructions in reverse order. |
|
|
| | | |
|




















