|  | | Accounts are free. Join #retro on irc.fxnet.org, identify with NickServ and type !req. |
| |
|
|  | | |
| | #retro on irc.fxnet.org
6697 ssl · 6667 plain
modern + vintage clients welcome |
| |
|
| | | |
| | 3 people in #retro
okawari, synmuffin, thelounge76
nobody on the FTP
last upload: Archived Windows 3.0 - 11 ISO B... by archiveorg, 35d ago |
| as of 21:42 EST ·  |
|
|
| | | |
| | | releases | 2,186 | | last 24h | +0 | | online | 1.7 TB | | library | 1.4 TB | | members | 1 | | updated | 2026-11-18 21:42 |
|
|
|
| | | |
| |
| | 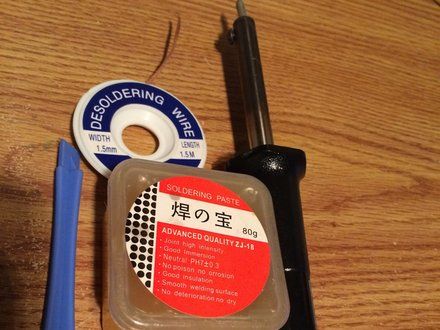
• Gather your solder gun and soldering paste. The soldering paste I use is very cheap and last very long and I apply it with a plastic pry tool, there are other better methods to apply such as the type that comes in a syringe style tube.You will also need desoldering wire or (wick) which conducts heat well and therefore absorbs the old solder.
|
|
|
| | | |
| | 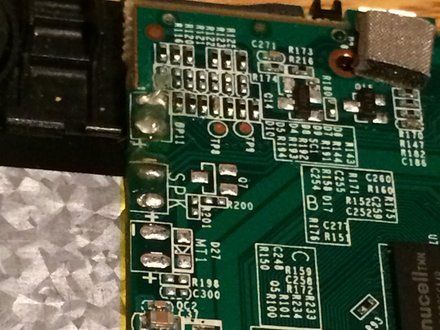
• It is very helpful to add some soldering paste to the area of the logic board you will be removing solder from--it will help make the process easier and prevent from possibly pulling a pad off the logic board. I am desoldering the + and - battery connections above the SPK points in the picture.
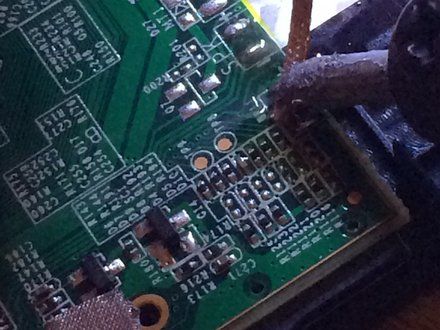
• Apply the de-soldering wick to the area you are removing the solder from and hold the solder gun on it so it can soak the solder up in the wick. Be very careful to not leave the solder gun on too long as the logic board components are very fragile.
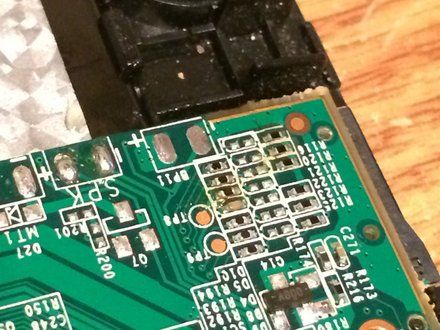
• Carefully remove the soldering iron and the wick at the same time. If you remove the solder gun first and then the wick the solder can harden and you could possibly pull components off the board. As you can see the solder pads on the logic board are clean with no excess and ready for fresh solder.
|
|
|
| | | |
|

















