|  | | Accounts are free. Join #retro on irc.fxnet.org, identify with NickServ and type !req. |
| |
|
|  | | |
| | #retro on irc.fxnet.org
6697 ssl · 6667 plain
modern + vintage clients welcome |
| |
|
| | | |
| | 3 people in #retro
okawari, synmuffin, thelounge76
nobody on the FTP
last upload: Archived Windows 3.0 - 11 ISO B... by archiveorg, 35d ago |
| as of 21:42 EST ·  |
|
|
| | | |
| | | releases | 2,186 | | last 24h | +0 | | online | 1.7 TB | | library | 1.4 TB | | members | 1 | | updated | 2026-11-18 21:42 |
|
|
|
| | | |
| |
| | 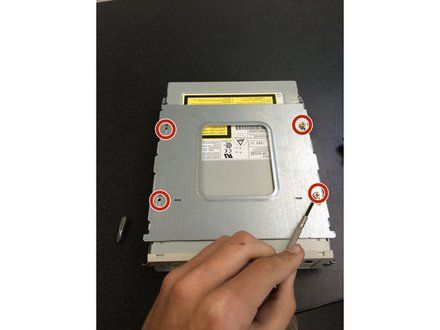
• Unscrew the top four screws.
• CAUTION: Make sure that you don't mix up the screws.
• REMINDER: They are different and you don't want to use the wrong screws.
• Why would they do that?
|
|
|
| | | |
| | 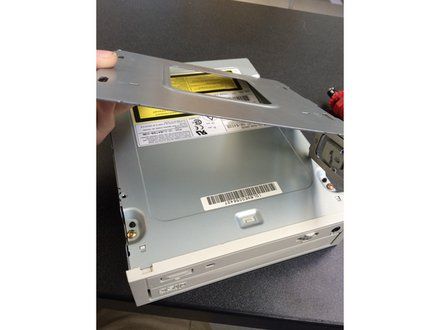
• Take off the plate that you unscrewed last step
• REMINDER: Put all the parts that you had taken off on the side so you do not lose them
|
|
|
| | | |
| | 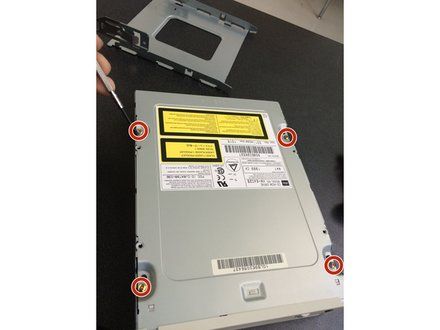
• Unscrew the four screws on the next plate.
|
|
|
| | | |
| | 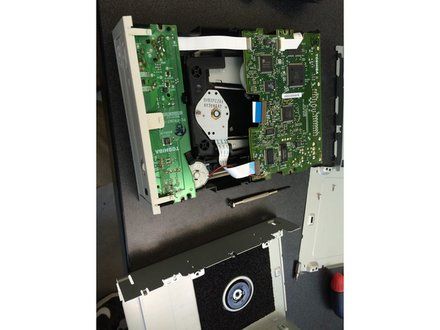
• 4- take off the top plate by lifting the back up and lightly pulling up.
• the picture to the left is what it looks like after you take the plate off.
|
|
|
| | | |
| | 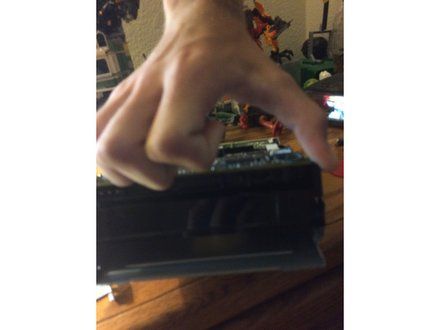
• 5-flip over and push the side tabs in and lift the bottom piece off (it might be hard to do but try not to force it off).
|
|
|
| | | |
| | 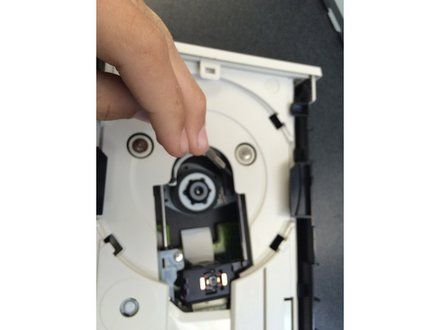
• 6-push piece down and slide the disk piece out.
|
|
|
| | | |
| | 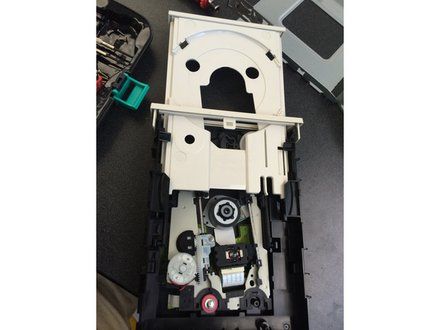
• 7-what is would look like.
|
|
|
| | | |
| | 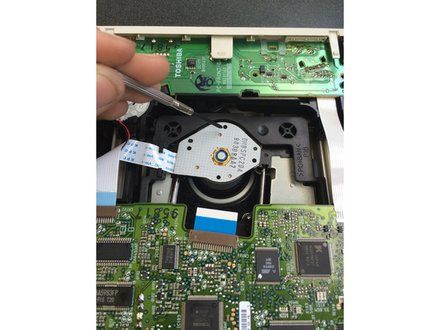
• 8-unscrew the three screws on the spin piece.
|
|
|
| | | |
| | 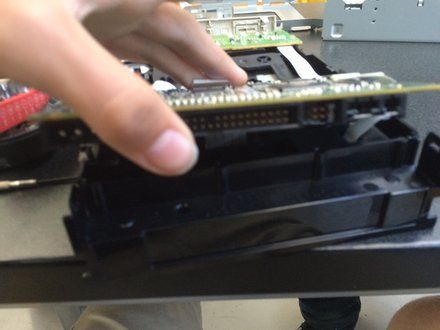
• 9- unclip the chip in the front/back then lightly lift the piece up.
• to put this device back together just do the steps backwards, nothing is hard to do.
• CAUTION: be cautious because there are wires under the chip do don't pull hard or you are going to break it.
|
|
|
| | | |
|





















