|  | | Accounts are free. Join #retro on irc.fxnet.org, identify with NickServ and type !req. |
| |
|
|  | | |
| | #retro on irc.fxnet.org
6697 ssl · 6667 plain
modern + vintage clients welcome |
| |
|
| | | |
| | 3 people in #retro
okawari, synmuffin, thelounge76
nobody on the FTP
last upload: Archived Windows 3.0 - 11 ISO B... by archiveorg, 35d ago |
| as of 21:42 EST ·  |
|
|
| | | |
| | | releases | 2,186 | | last 24h | +0 | | online | 1.7 TB | | library | 1.4 TB | | members | 1 | | updated | 2026-11-18 21:42 |
|
|
|
| | | |
| |
| | 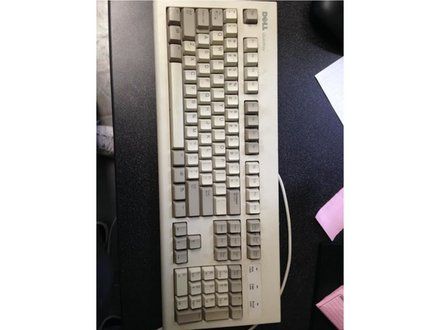
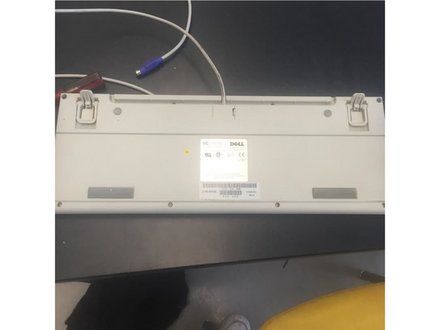
• Flip the keyboard to its back.
• Unscrew all the screws then flip the keyboard back over and take the top piece off.
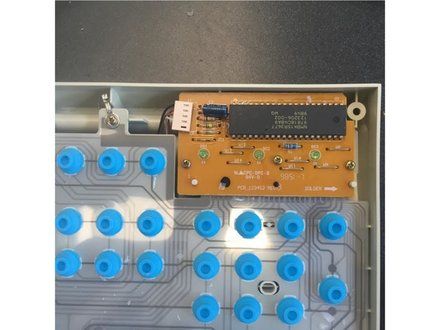
• Then unscrew the three screws on the chip and also unscrew the metal piece thats by its self.
• Then lift the chip up carefully because the wires are under the motherboard.
• Then take the plastic piece with the blue bottoms off, then take the clear piece with the holes on it off, then the last plastic piece with the lines comes off.
• An the metal piece now comes off and your done.
|
|
|
| | | |
| | | To reassemble your device, follow these instructions in reverse order. |
|
|
| | | |
|

















