|  | | Accounts are free. Join #retro on irc.fxnet.org, identify with NickServ and type !req. |
| |
|
|  | | |
| | #retro on irc.fxnet.org
6697 ssl · 6667 plain
modern + vintage clients welcome |
| |
|
| | | |
| | 3 people in #retro
okawari, synmuffin, thelounge76
nobody on the FTP
last upload: Archived Windows 3.0 - 11 ISO B... by archiveorg, 35d ago |
| as of 21:42 EST ·  |
|
|
| | | |
| | | releases | 2,186 | | last 24h | +0 | | online | 1.7 TB | | library | 1.4 TB | | members | 1 | | updated | 2026-11-18 21:42 |
|
|
|
| | | |
| | | |
| Device | Keyboard |
| Difficulty | Easy |
| Time | 10 - 20 minutes |
| Steps | 5 |
This guide is by Cooper on iFixit and is licensed under Creative Commons Attribution-NonCommercial-ShareAlike 3.0. ByteRot mirrors it for non-commercial preservation: formatting changed and photos resized for old browsers; full-size photos and the text are on the FTP in /DOCS/REPAIR. Original guide >>
Do you have a keyboard with keys that do not work? Use this guide to replace your keys and return your keyboard to proper working condition.
Tools: Tweezers; Spudger; Compressed Air
Parts: Replacement Keyboard Keys |
|
|
| | | |
| | 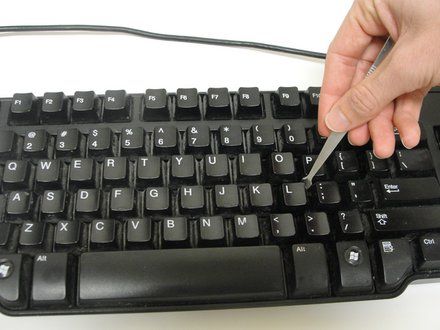
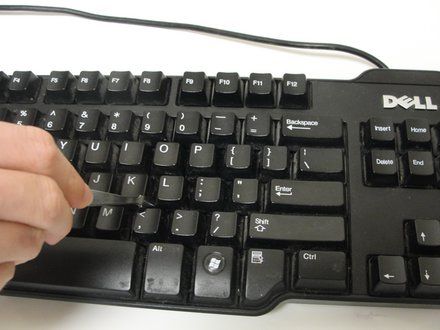
• Loosen the key by prying all four corners gently with your spudger.
• CAUTION: Make sure your keyboard is unplugged before performing any of these steps.
|
|
|
| | | |
| | 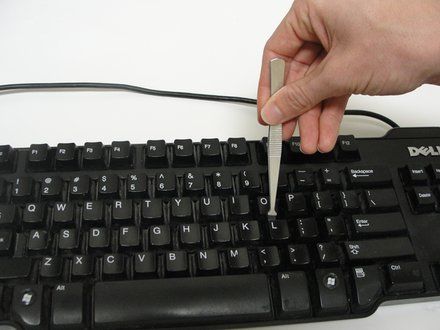
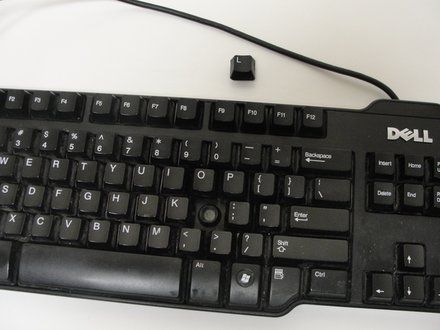
• Wedge the tip of the spudger under the bottom of the key and carefully lift up until the key pops loose.
• NOTE: If the key will not come out, or seems like too much force is needed, try step one again.
|
|
|
| | | |
| | 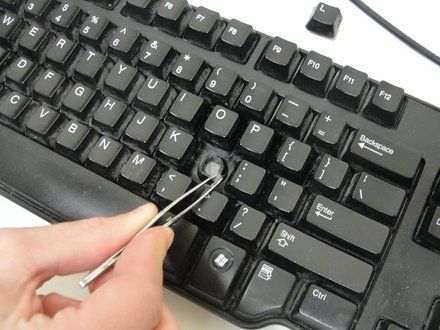
• Use tweezers (https://www.ifixit.com/en-ca/products/tweezers) to remove any contaminants that were preventing the key from being pressed down from the now open hole on your keyboard.
• CAUTION: Do not to grab the actual button, as breaking that could damage your keyboard permanently.
|
|
|
| | | |
| | 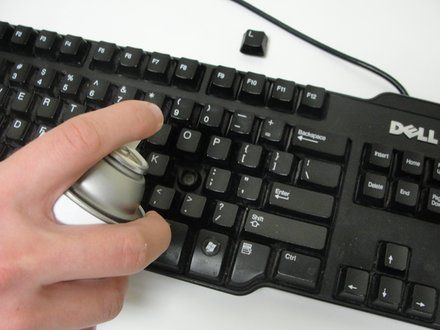
• Clean your keys with compressed air by blowing around the removed key.
|
|
|
| | | |
| | 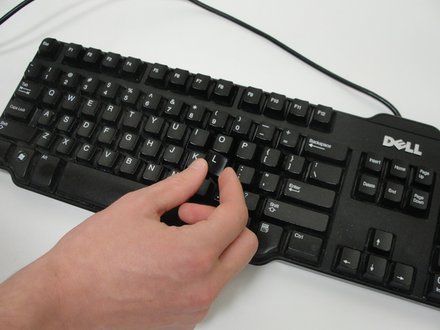
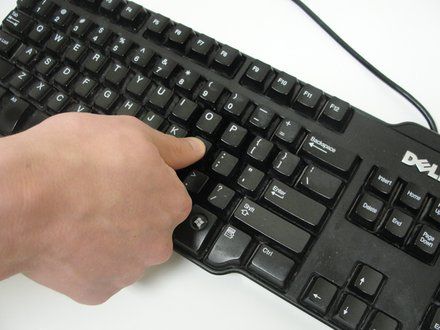
• Push in the clean keys until you hear a popping sound.
• The keys should click in easily, so if you are having trouble try realigning the key with its hole.
• NOTE: If you removed multiple keys, make sure they are in their proper spot and orientation.
|
|
|
| | | |
| | | Congratulations! You now have a keyboard with fully functional keys! |
|
|
| | | |
|

















