|  | | Accounts are free. Join #retro on irc.fxnet.org, identify with NickServ and type !req. |
| |
|
|  | | |
| | #retro on irc.fxnet.org
6697 ssl · 6667 plain
modern + vintage clients welcome |
| |
|
| | | |
| | 3 people in #retro
okawari, synmuffin, thelounge76
nobody on the FTP
last upload: Archived Windows 3.0 - 11 ISO B... by archiveorg, 35d ago |
| as of 21:42 EST ·  |
|
|
| | | |
| | | releases | 2,186 | | last 24h | +0 | | online | 1.7 TB | | library | 1.4 TB | | members | 1 | | updated | 2026-11-18 21:42 |
|
|
|
| | | |
| | | |
| Device | Wire |
| Difficulty | Very easy |
| Time | 5 - 10 minutes |
| Steps | 5 |
This guide is by Joeny Zhen on iFixit and is licensed under Creative Commons Attribution-NonCommercial-ShareAlike 3.0. ByteRot mirrors it for non-commercial preservation: formatting changed and photos resized for old browsers; full-size photos and the text are on the FTP in /DOCS/REPAIR. Original guide >>
Before reading this guide, ensure you know how to strip wires and solder a connection. If not, please look at the following guides.
Stripping Wire: Wire Stripping (https://www.ifixit.com/Guide/Wire+Stripping/11008)
Soldering:How To Solder and Desolder Connections (https://www.ifixit.com/Guide/How+To+Solder+and+Desolder+Connections/750)
Tools: Lead-Free Solder; Soldering Iron; Heat Shrink Tubing Assortment; Helping Hands; Heat Gun; Wire Stripper; Desoldering Braid
Parts: Any Pair of Gauge Wire |
|
|
| | | |
| | 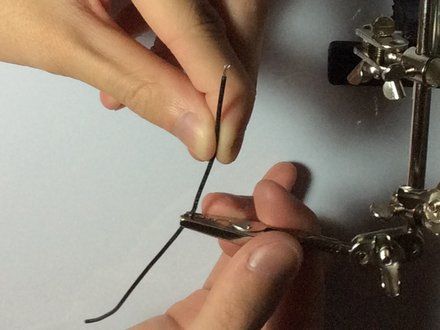
• Put one of the paired wires on one of the helping hand's clamp. Put the other pair of wires on the remaining clamp.
• NOTE: Make sure the wires' stripped ends are facing each other or are towards the center of the workplace. If not, orientate the wires accordingly.
|
|
|
| | | |
| | 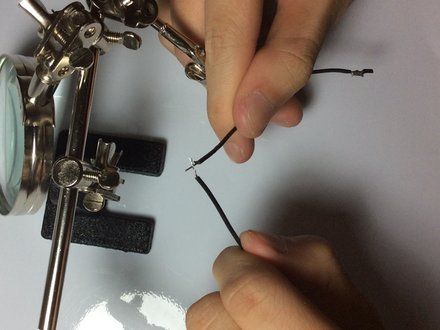
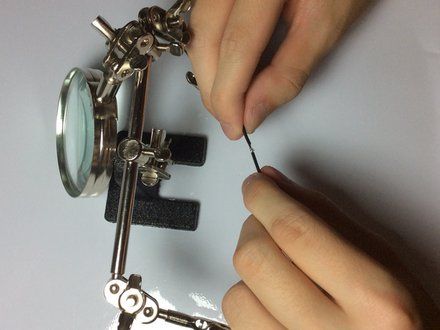
• Using both stripped wire ends, wrap and tie both of the ends together.
|
|
|
| | | |
| | 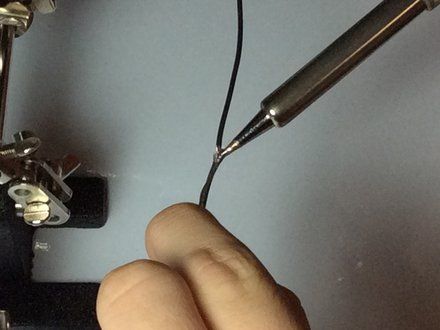
• Solder the tied ends of the filament.
• NOTE: Ensure to solder the connection completely, not just one area.
• CAUTION: Try not to put too much solder on the connection, as it will add more resistance.
|
|
|
| | | |
| | 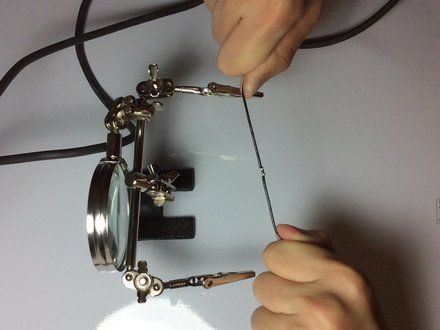
• Pull on the two wires firmly to ensure the solder does not separate.
|
|
|
| | | |
| | 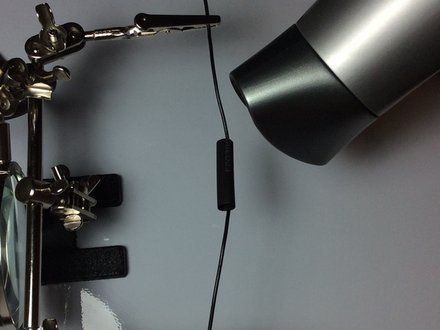
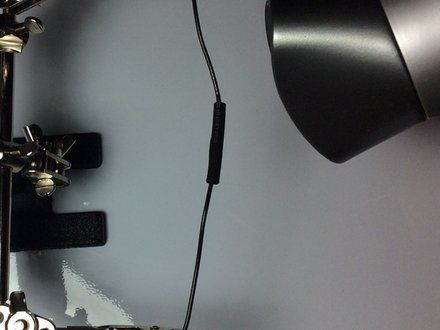
• NOTE: To properly protect the soldered wire connection, use heat shrink.
• Cut enough heat shrink to cover the soldered connection.
• Slip the heat shrink onto the connection.
• Using a heat generator, such as a heat gun or a hairdryer, heat the heat shrink around all of the angles until it securely covers the soldered connection.
|
|
|
| | | |
| | | This technique will allow wires to be extended both electrically and structurally without the need of longer wires. |
|
|
| | | |
|

















