|  | | Accounts are free. Join #retro on irc.fxnet.org, identify with NickServ and type !req. |
| |
|
|  | | |
| | #retro on irc.fxnet.org
6697 ssl · 6667 plain
modern + vintage clients welcome |
| |
|
| | | |
| | 3 people in #retro
okawari, synmuffin, thelounge76
nobody on the FTP
last upload: Archived Windows 3.0 - 11 ISO B... by archiveorg, 35d ago |
| as of 21:42 EST ·  |
|
|
| | | |
| | | releases | 2,186 | | last 24h | +0 | | online | 1.7 TB | | library | 1.4 TB | | members | 1 | | updated | 2026-11-18 21:42 |
|
|
|
| | | |
| |
| | 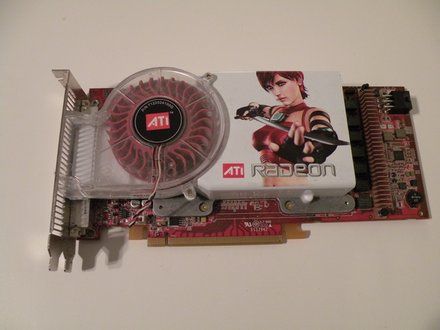
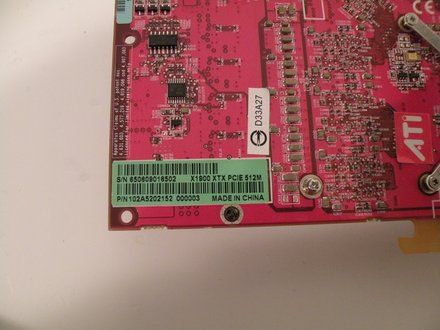
• Start by removing the card from the PC if you haven't already.
|
|
|
| | | |
| | 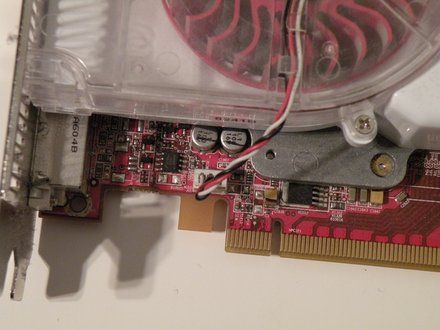
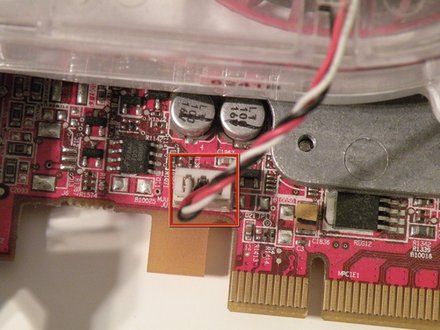
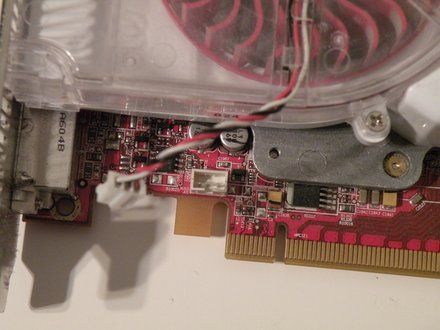
• The fan's power cable is located towards the bottom-left of the card.
• Disconnect the cable from the card.
• CAUTION: The cable and its connector on the X1900 are fragile. Be careful, and try not to use excessive force when removing it.
|
|
|
| | | |
| | 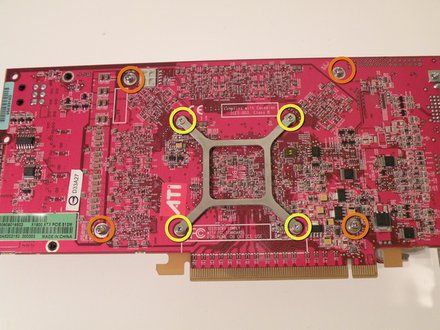
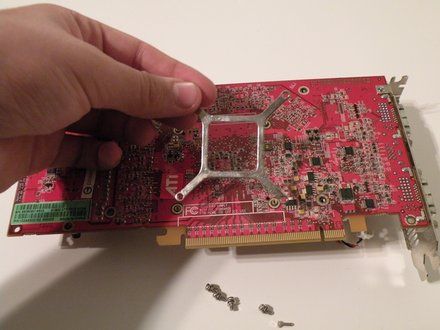
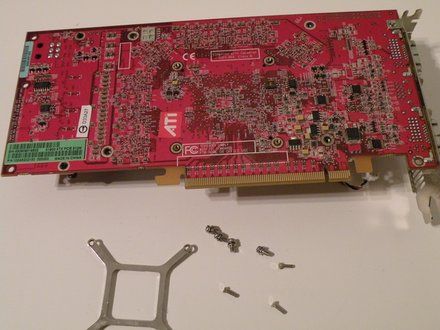
• Removing the heatsink from the card:
• The clamp is held on by four small Phillips screws. Remove them, then the clamp.
• Remove the four phillips screws surrounding the clamp.
|
|
|
| | | |
| | 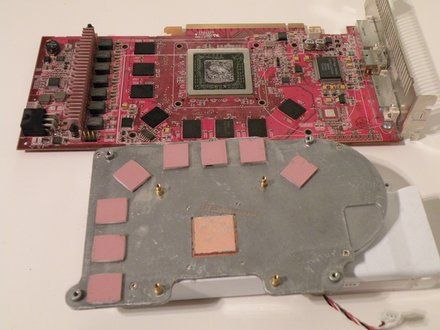
• Separate the heatsink and the card.
|
|
|
| | | |
| | 
• Replacing Thermal Paste:
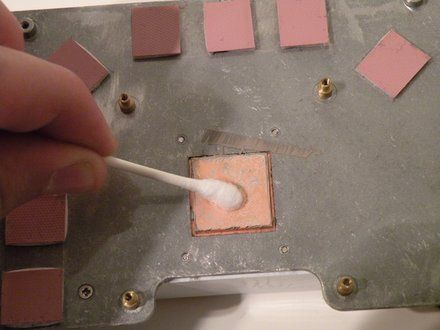
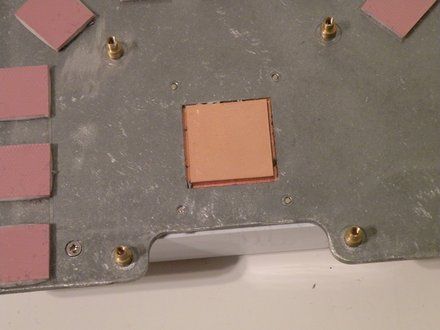
• Using a Q-tip/cotton swab and rubbing alcohol, clean the copper plate that protrudes from the bottom of the heatsink.
|
|
|
| | | |
| | 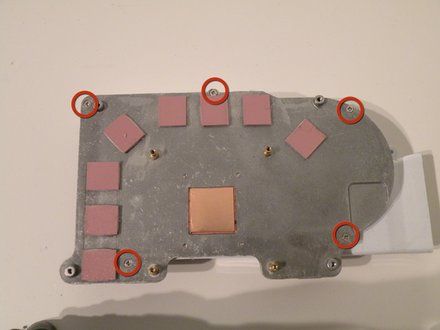
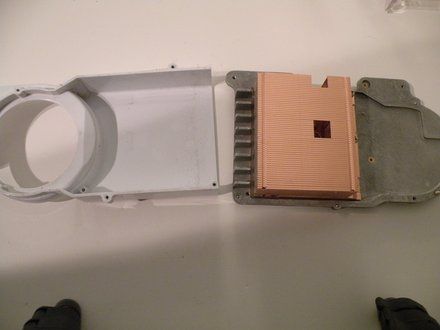
• Removing the heatsink's plastic cover:
• Remove these Phillips screws.
• Seperate the plastic cover from the metal heat sink.
|
|
|
| | | |
| | 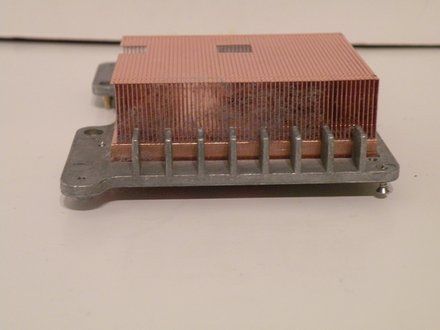
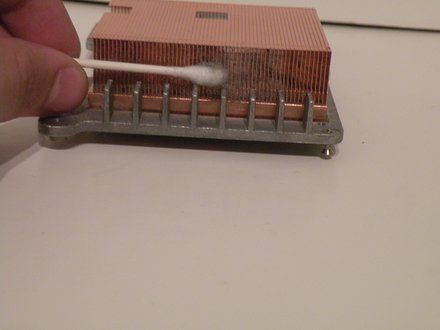
• Cleaning dust out of the heat sink:
• Using a cotton swab/q-tip, clean the edges of the heat sink. You can also use canned air if available.
|
|
|
| | | |
| | 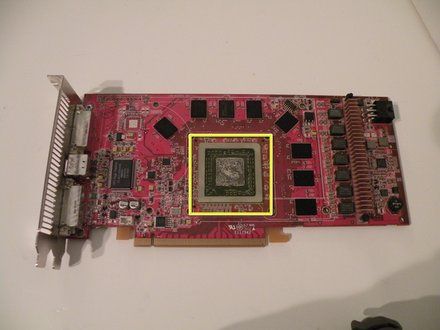
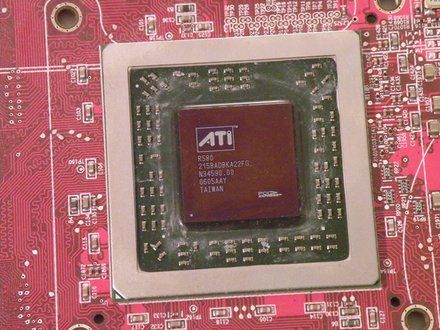
• Using the same method that you used to clean the copper plate, clean the surface of the GPU die.
|
|
|
| | | |
| | 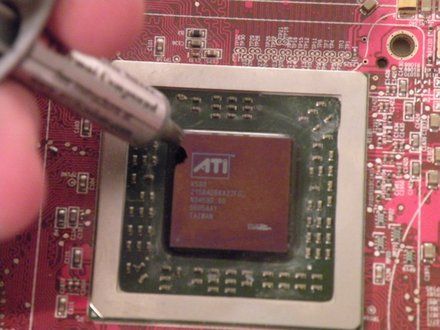
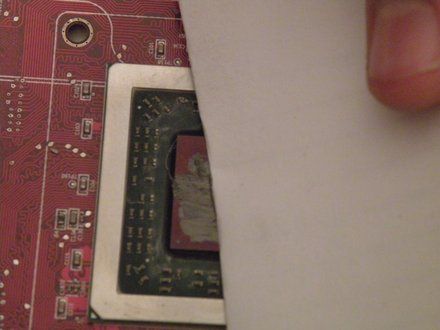
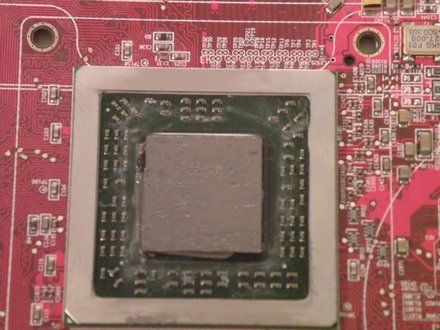
• Re-Applying Thermal Paste:
• Apply a small glob of thermal paste to the corner of the die, (I recommend using Arctic Silver 5) and use an index card to spread a thin, even layer of it over the surface of the chip.
• For more detailed directions, follow our Applying Thermal Paste Guide (https://www.ifixit.com/Guide/How+to+Apply+Thermal+Paste/744).
|
|
|
| | | |
| | | To reassemble your device, follow these instructions in reverse order. |
|
|
| | | |
|


















