|  | | Accounts are free. Join #retro on irc.fxnet.org, identify with NickServ and type !req. |
| |
|
|  | | |
| | #retro on irc.fxnet.org
6697 ssl · 6667 plain
modern + vintage clients welcome |
| |
|
| | | |
| | 3 people in #retro
okawari, synmuffin, thelounge76
nobody on the FTP
last upload: Archived Windows 3.0 - 11 ISO B... by archiveorg, 35d ago |
| as of 21:42 EST ·  |
|
|
| | | |
| | | releases | 2,186 | | last 24h | +0 | | online | 1.7 TB | | library | 1.4 TB | | members | 1 | | updated | 2026-11-18 21:42 |
|
|
|
| | | |
| |
| | 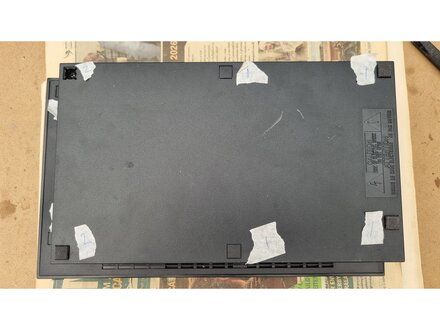
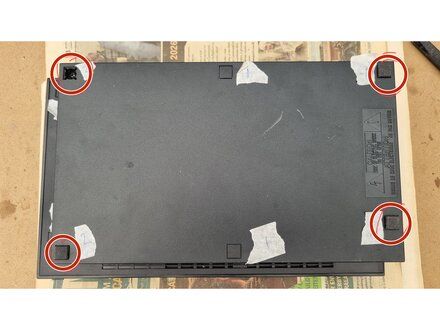
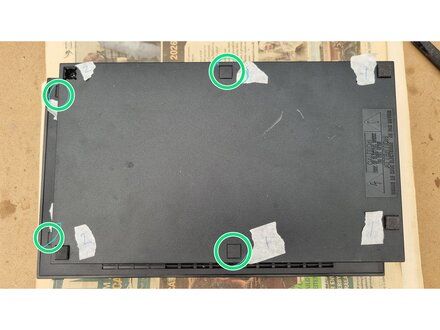
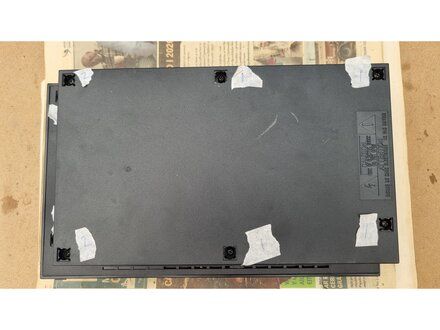
• Flip the PlayStation 2 over so it lays with the bottom of the device facing upwards.
• Use the flat edge of a metal spudger to pry the eight flat screw covers out.
• These covers are made of soft rubber and act as feet.
• These covers are made of hard plastic.
|
|
|
| | | |
| | 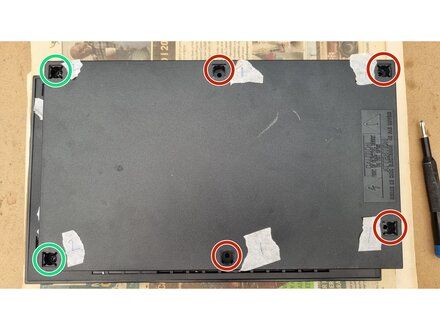
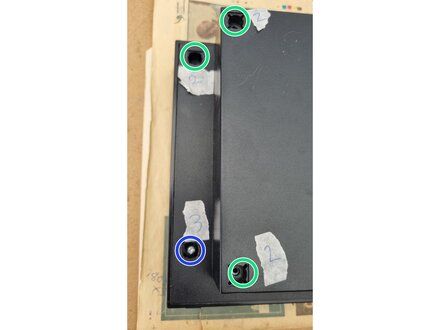
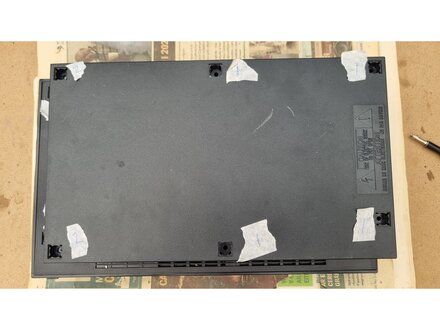
• Use a PH2 screw driver to remove the 8x screws.
• 4x M2.5 x 53 mm black screws.
• 3x M3 x 15 mm black screws.
• 1x M3 x 26.5 mm silver screw.
|
|
|
| | | |
| | 
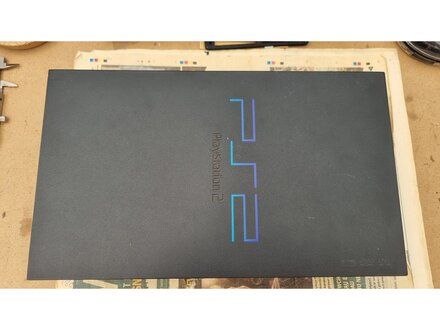
• Flip over the PS2 and make sure the top is face up and the front of the console is nearest to you.
|
|
|
| | | |
| | 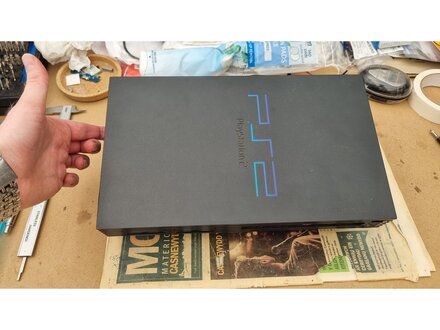
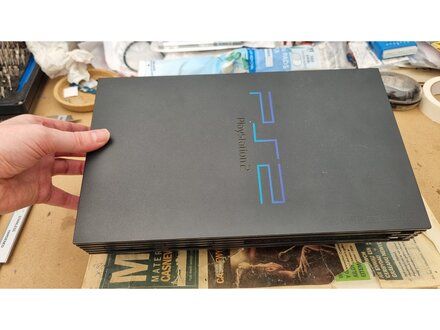
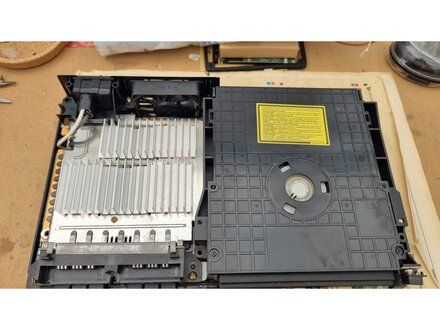
• Lift the rear of the top cover to an angle of about 40-45 degrees.
• Slide the cover forward and over the controller ports, dvd drive and the power/reset and eject buttons.
|
|
|
| | | |
| | 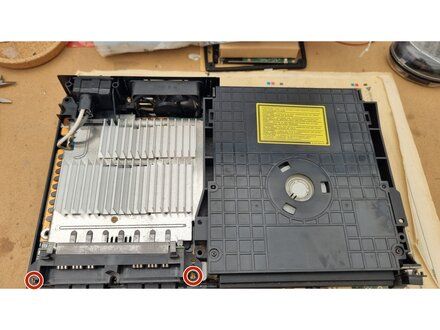
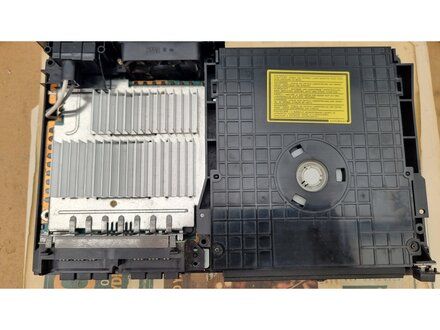
• Use a Phillips PH2 screwdriver to remove the screws holding the controller ports to the base cover.
• 2x M3 x 11.4mm gold coloured screws.
|
|
|
| | | |
| | 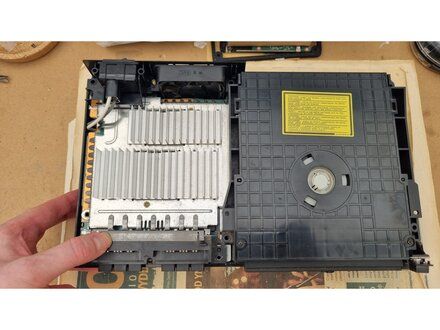
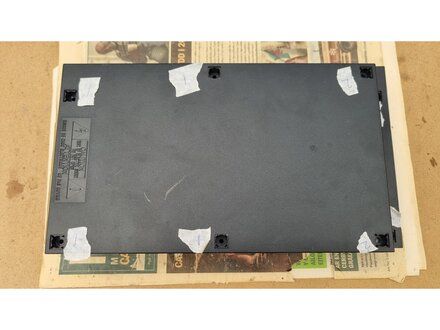
• Flip over the PS2 so the baser cover is facing upwards.
• CAUTION: The controller ports will be loose.
• REMINDER: Hold the the left hand side of controller ports ( and the console) when you flip over the PS2.
|
|
|
| | | |
| | 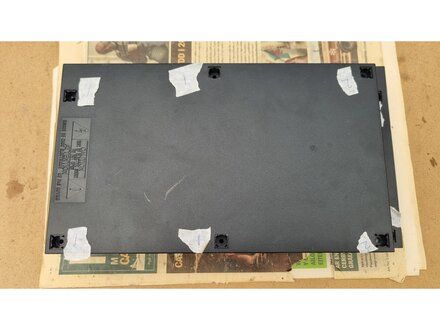
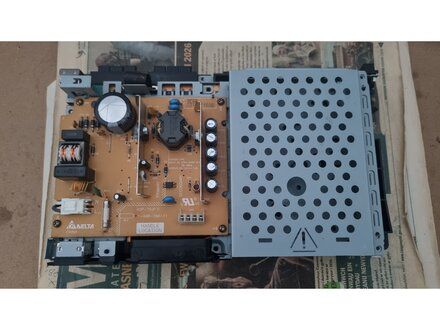
• Lift the base cover straight up to remove it.
|
|
|
| | | |
| | | To reassemble your device, follow these instructions in reverse order. |
|
|
| | | |
|






















