|  | | Accounts are free. Join #retro on irc.fxnet.org, identify with NickServ and type !req. |
| |
|
|  | | |
| | #retro on irc.fxnet.org
6697 ssl · 6667 plain
modern + vintage clients welcome |
| |
|
| | | |
| | 3 people in #retro
okawari, synmuffin, thelounge76
nobody on the FTP
last upload: Archived Windows 3.0 - 11 ISO B... by archiveorg, 35d ago |
| as of 21:42 EST ·  |
|
|
| | | |
| | | releases | 2,186 | | last 24h | +0 | | online | 1.7 TB | | library | 1.4 TB | | members | 1 | | updated | 2026-11-18 21:42 |
|
|
|
| | | |
| |
| | 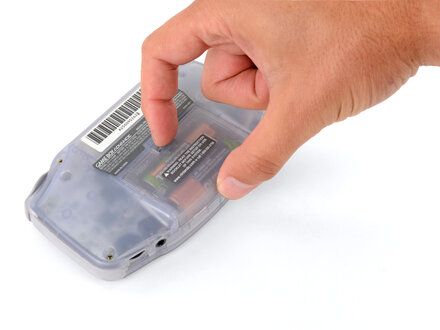
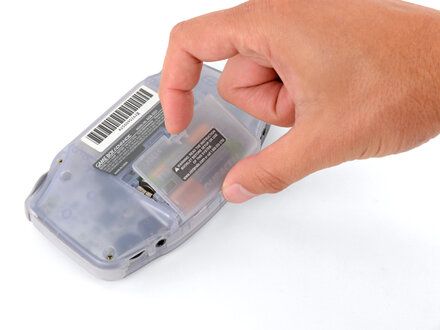
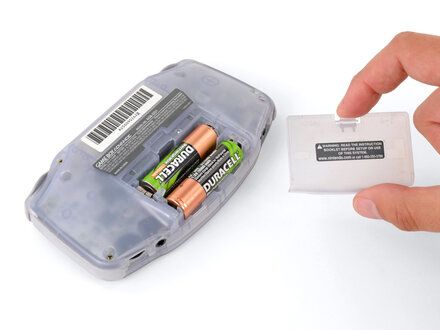
• Release the battery cover tab with your finger and swing the cover away from your Game Boy to remove it.
• REMINDER: During reassembly, insert the tabs on the bottom edge of the cover into their cutouts and press the cover into place.
|
|
|
| | | |
| | 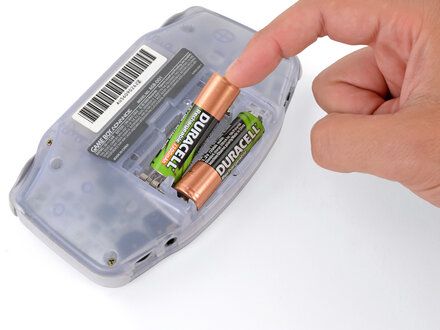
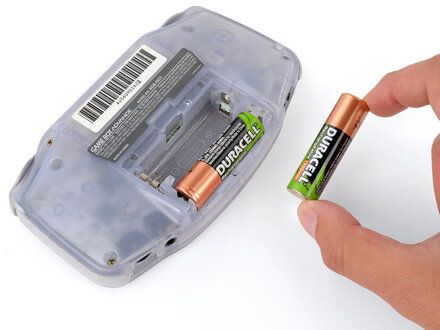
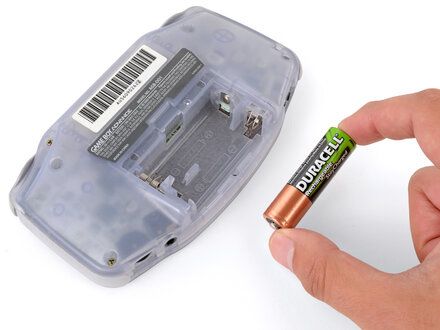
• Remove the two AA batteries.
• NOTE: If the metal terminals are corroded, follow this guide (https://www.ifixit.com/Guide/How+to+Clean+Corroded+Battery+Terminals/164164) to clean them.
• REMINDER: When installing batteries, use the diagram (https://guide-images.cdn.ifixit.com/igi/CuXVhApCfFZ6DpLL.full) in the battery well to properly orient them.
|
|
|
| | | |
| | 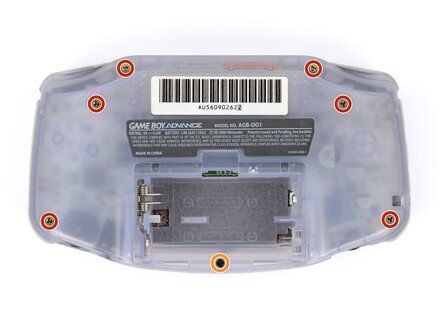
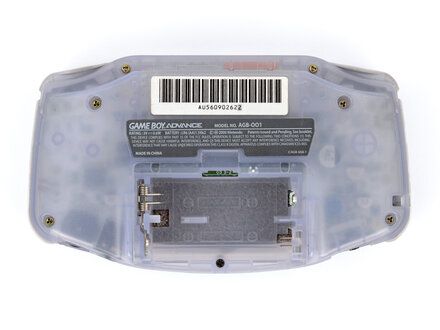
• Remove the seven screws securing the back shell:
• Six 9.4 mm?long tri?point Y0 screws
• One 8.5 mm?long JIS 1 screw
• NOTE: You can try to use a non-iFixit Phillips driver in a pinch, but you risk damaging or stripping screws. Push down firmly on the driver and twist slowly.
|
|
|
| | | |
| | 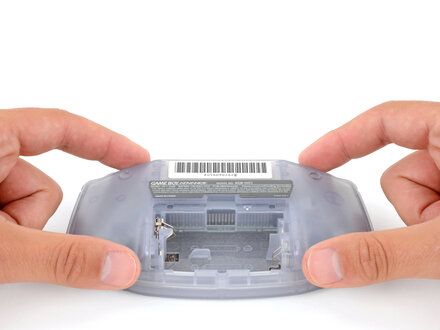
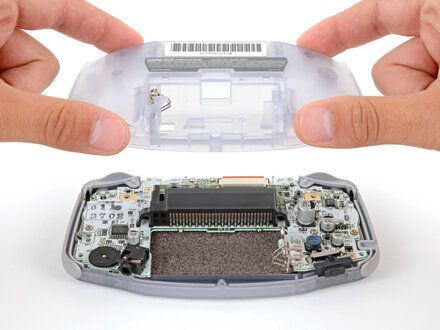
• Lift the back shell straight up and remove it.
• REMINDER: During reassembly, squeeze the shell firmly around the edges and ensure the shoulder buttons and bumpers are properly seated with no large gaps. Gently test the buttons to make sure everything feels correct.
|
|
|
| | | |
| | 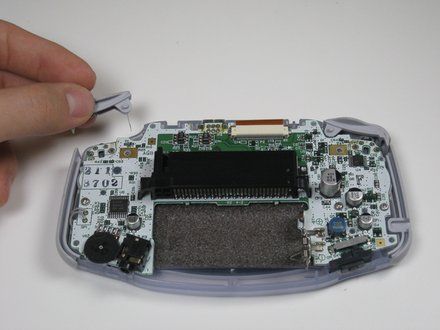
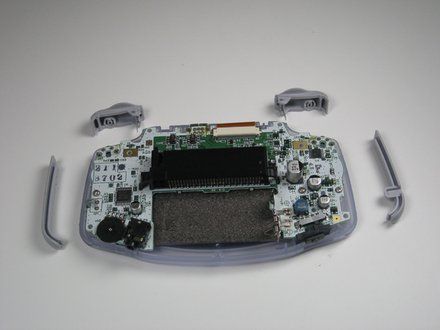
• Remove left and right triggers by lifting and pulling them away from the system.
• Do the same for side panels
• NOTE: For finicky or jammed triggers only! Adjust and correct triggers and reassemble. Most jammed triggers are caused by buttons misplaced or jammed in its enclosure.
|
|
|
| | | |
| | | To reassemble your device, follow these instructions in reverse order. |
|
|
| | | |
|























