|  | | Accounts are free. Join #retro on irc.fxnet.org, identify with NickServ and type !req. |
| |
|
|  | | |
| | #retro on irc.fxnet.org
6697 ssl · 6667 plain
modern + vintage clients welcome |
| |
|
| | | |
| | 3 people in #retro
okawari, synmuffin, thelounge76
nobody on the FTP
last upload: Archived Windows 3.0 - 11 ISO B... by archiveorg, 35d ago |
| as of 21:42 EST ·  |
|
|
| | | |
| | | releases | 2,186 | | last 24h | +0 | | online | 1.7 TB | | library | 1.4 TB | | members | 1 | | updated | 2026-11-18 21:42 |
|
|
|
| | | |
| | | |
| Device | Soldering |
| Difficulty | Moderate |
| Time | 15 minutes |
| Steps | 6 |
This guide is by Justin N/A Nguyen on iFixit and is licensed under Creative Commons Attribution-NonCommercial-ShareAlike 3.0. ByteRot mirrors it for non-commercial preservation: formatting changed and photos resized for old browsers; full-size photos and the text are on the FTP in /DOCS/REPAIR. Original guide >>
The purpose of this guide is to instruct users on how to effectively repair a broken wire, as they commonly become damaged. This guide will cover how to repair stranded wire and solid-core (single strand) wire.
Note: to efficiently complete the following guide, it's crucial to know how to strip wires. The following link can be used as a guide for wire stripping before continuing.
Stripping Wire: Wire Stripping (https://www.ifixit.com/Guide/Wire+Stripping/11008)
Tools: Soldering Gun / Iron and Solder; Lead-Free Solder; Helping Hands; metal tray; heat shrink tube; Heat Gun; grill lighter
Parts: Any Guage Wire |
|
|
| | | |
| | 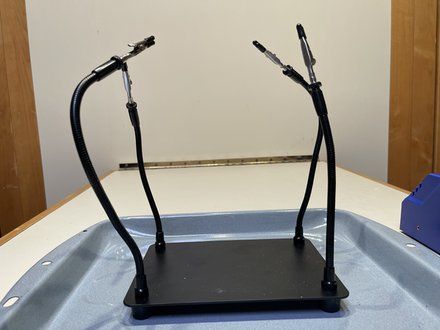
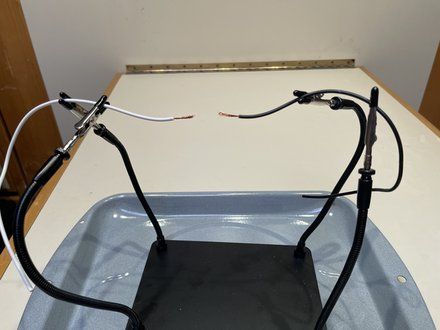
• Set your tools down on a clean, non-flammable surface.
• NOTE: Ensure that the work area is well-ventilated and clear of anything that can be damaged during soldering.
• Attach a stripped wire end to each of the helping hands clips, facing the ends towards each other.
|
|
|
| | | |
| | 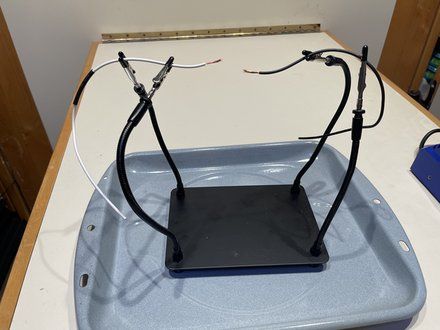
• Cut a piece of heat-shrink tubing such that it's 10-15 mm longer than one of the exposed wire ends.
• Slip the heat shrink over one of the wires, making sure to move the heat shrink away from the soldering point as to avoid any burning.
|
|
|
| | | |
| | 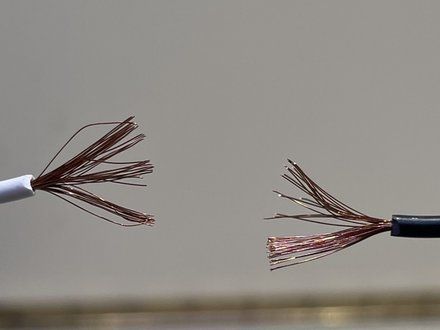
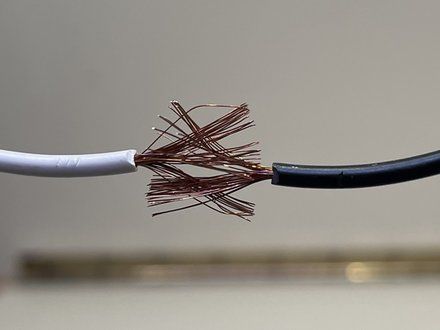
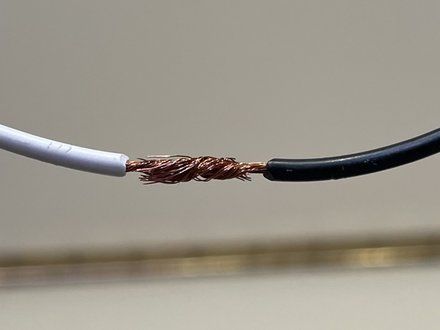
• NOTE: This step shows how to physically intermesh stranded wires together. This improves the physical properties of the joined wires.
• Unravel all of the wire strands for both the wires, intermesh them, and then twist the strands together.
|
|
|
| | | |
| | 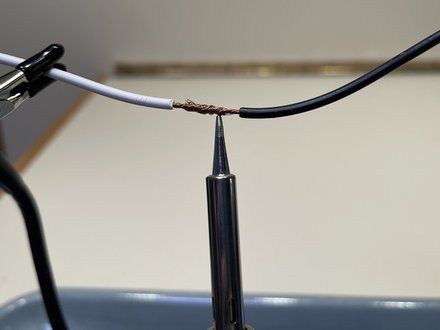
• Place the tip of a soldering iron (https://www.ifixit.com/en-ca/products/fixhub-power-series-smart-soldering-iron) against the exposed wires. You want to heat the wires hot enough such that they'll readily melt the solder.
• NOTE: Position the tip such that you maximize the wire surface area it touches.
|
|
|
| | | |
| | 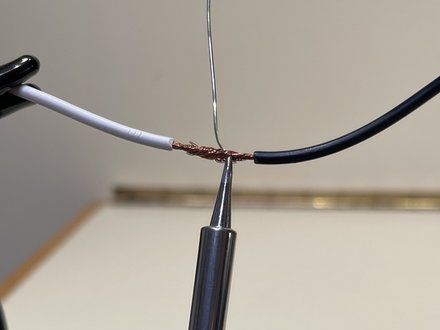
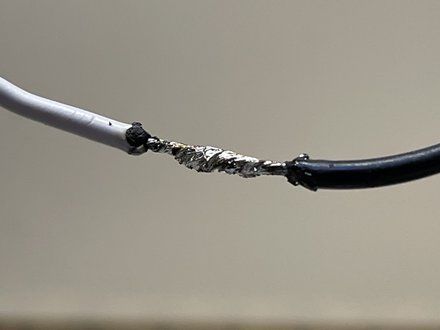
• Slowly feed solder wire into the heated wire. The wire strands should readily absorb the molten solder.
• NOTE: If the solder pools on top of the wire strands, the strands aren't hot enough to melt the solder. Try moving the soldering iron so that the tip touches more of the strands.
• Feed solder wire along the exposed wire until everything is thinly coated.
• Once the molten solder saturates the wire strands, allow the solder joint to cool down and solidify (2-3 minutes).
|
|
|
| | | |
| | 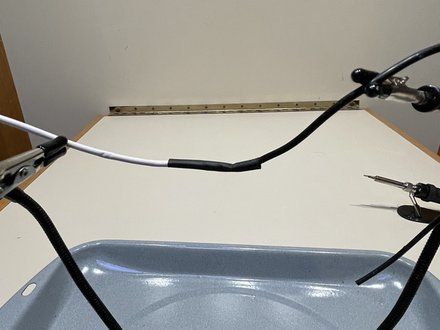
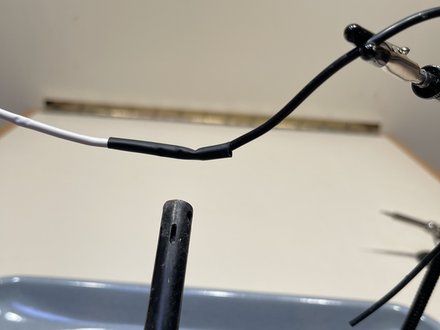
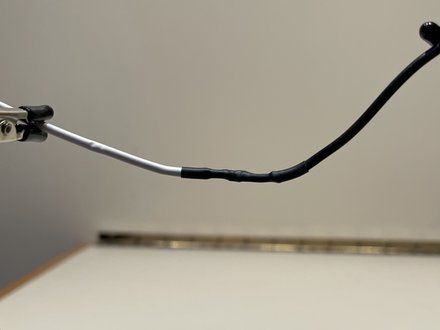
• Slide the heat-shrink over the exposed solder joint so that it completely covers the joint and the surrounding insulation.
• NOTE: The heat-shrink acts as insulation for the wire.
• Wave a heat source (lighter or heat gun) over the heat-shrink material to activate it. Apply heat until the heat-shrink has shrunk securely around the solder joint.
|
|
|
| | | |
| | You have successfully soldered two wires together!
For more soldering tips and guides, click here (https://www.ifixit.com/Device/Soldering). |
|
|
| | | |
|























