|  | | Accounts are free. Join #retro on irc.fxnet.org, identify with NickServ and type !req. |
| |
|
|  | | |
| | #retro on irc.fxnet.org
6697 ssl · 6667 plain
modern + vintage clients welcome |
| |
|
| | | |
| | 3 people in #retro
okawari, synmuffin, thelounge76
nobody on the FTP
last upload: Archived Windows 3.0 - 11 ISO B... by archiveorg, 35d ago |
| as of 21:42 EST ·  |
|
|
| | | |
| | | releases | 2,186 | | last 24h | +0 | | online | 1.7 TB | | library | 1.4 TB | | members | 1 | | updated | 2026-11-18 21:42 |
|
|
|
| | | |
| |
| | 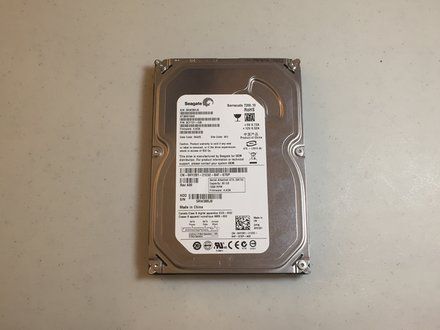
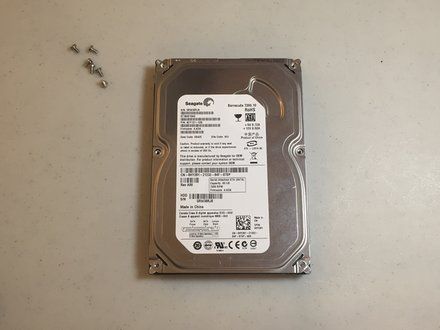
• Use a size 8 Torx screwdriver to remove the front screws. The location and amount may vary depending on your drive, but they are very easy to locate.
|
|
|
| | | |
| | 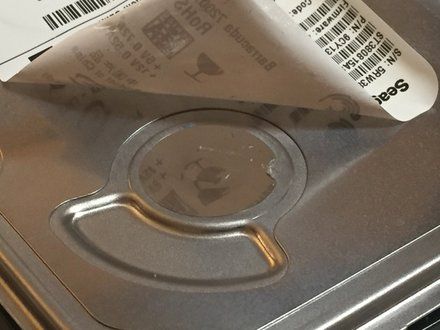
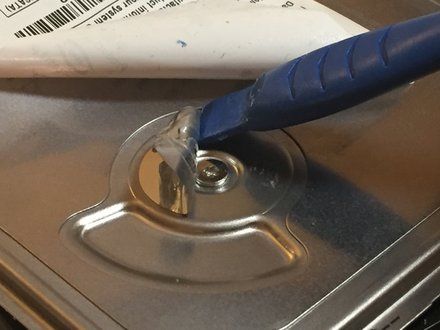
• There may be a screw hidden under the front sticker, so make sure to peel it off and check before you open it up. Use a spudger to peel off any material in the way of the screw
• REMINDER: Please check under the sticker before you open up your disk drive. I didn't, and went full brute-force on the hard drive cover. Whoops!
|
|
|
| | | |
| | 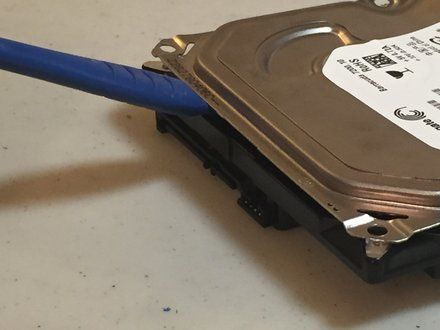
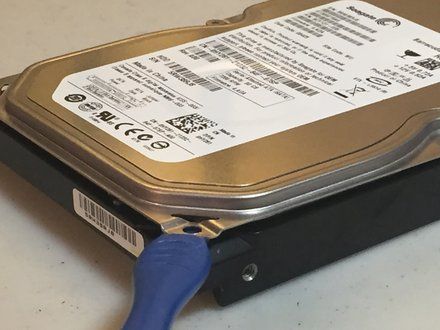
• Slide a spudger around the front cover to remove any adhesive or rubber insulation before opening.
|
|
|
| | | |
| | 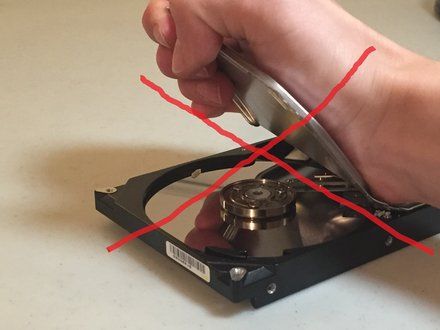
• Gently remove the cover.
• CAUTION: Do NOT do what I did, please.
|
|
|
| | | |
| | 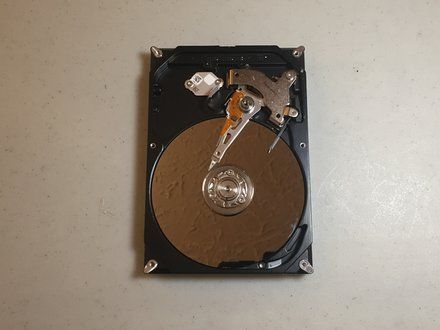
• There you have it! Now you have a fully-opened hard drive. Whether you want to make a pretty cool (and large) paperweight or perma-delete your data, you can now do so.
|
|
|
| | | |
| | | This is not a reversible process. I am not responsible for any damage done to you or your hard drive while opening it. |
|
|
| | | |
|



















