|  | | Accounts are free. Join #retro on irc.fxnet.org, identify with NickServ and type !req. |
| |
|
|  | | |
| | #retro on irc.fxnet.org
6697 ssl · 6667 plain
modern + vintage clients welcome |
| |
|
| | | |
| | 3 people in #retro
okawari, synmuffin, thelounge76
nobody on the FTP
last upload: Archived Windows 3.0 - 11 ISO B... by archiveorg, 35d ago |
| as of 21:42 EST ·  |
|
|
| | | |
| | | releases | 2,186 | | last 24h | +0 | | online | 1.7 TB | | library | 1.4 TB | | members | 1 | | updated | 2026-11-18 21:42 |
|
|
|
| | | |
| |
| | 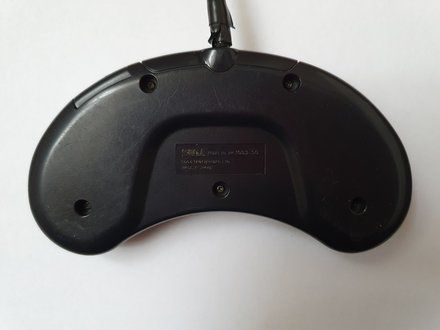
• Flip the controller upside down.
• Using a Phillips #00 screwdriver, remove the five screws holding the controller back cover in place.
|
|
|
| | | |
| | 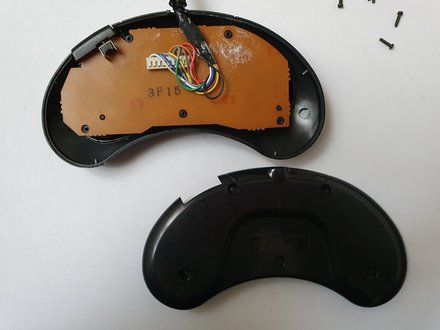
• Then remove the back cover of the controller, which gives you access to the motherboard of the controller.
• NOTE: Carefully put back the 5 screws from step 1 as well as the back cover of the controller.
|
|
|
| | | |
| | 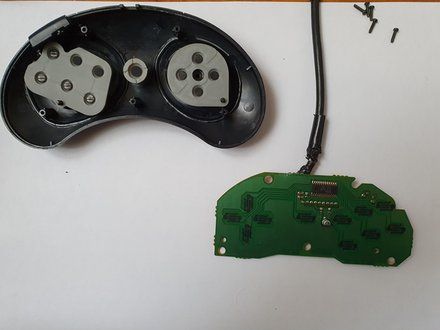
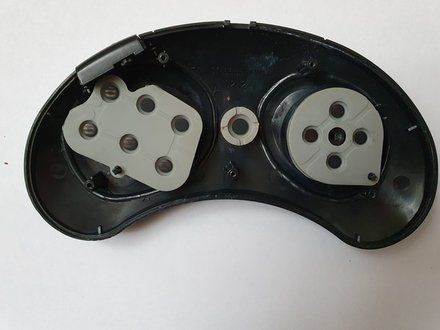
• Remove the motherboard from the controller body, after releasing the rubber part that holds the cable in the controller body.
• NOTE: This gives you access to the button contact pads.
|
|
|
| | | |
| | 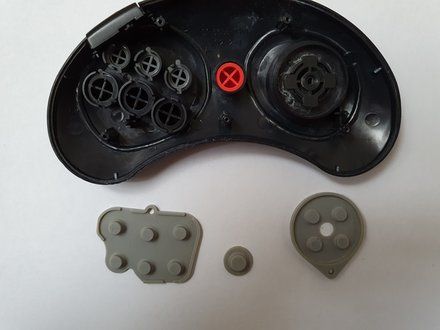
• Remove the contact pads.
• Then remove the 8 plastic buttons.
|
|
|
| | | |
| | 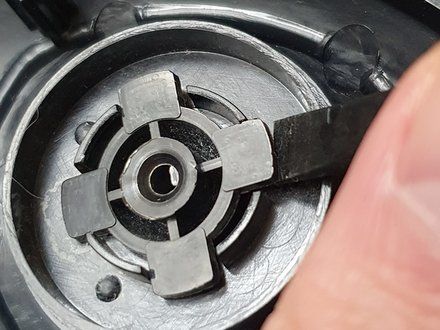
• In order to disassemble the directional cross, it is necessary to levergentlypreferably with a plastic Spudger, under the 4 retaining tabs.
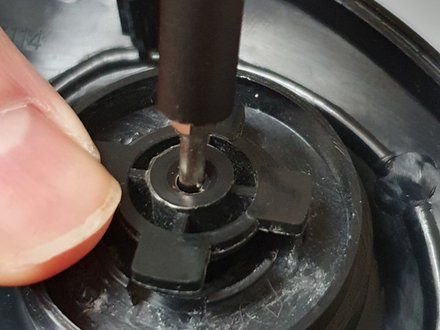
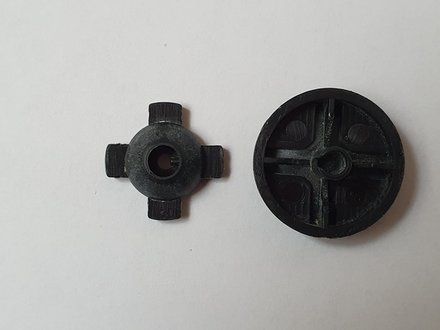
• Then, push in the central hole with a fine tool (here a screwdriver), in order to undo the assembly.
• CAUTION: For reassembly, be careful to put the alignment pin in front of the slot of the outer part!
|
|
|
| | | |
|





















