|  | | Accounts are free. Join #retro on irc.fxnet.org, identify with NickServ and type !req. |
| |
|
|  | | |
| | #retro on irc.fxnet.org
6697 ssl · 6667 plain
modern + vintage clients welcome |
| |
|
| | | |
| | 3 people in #retro
okawari, synmuffin, thelounge76
nobody on the FTP
last upload: Archived Windows 3.0 - 11 ISO B... by archiveorg, 35d ago |
| as of 21:42 EST ·  |
|
|
| | | |
| | | releases | 2,186 | | last 24h | +0 | | online | 1.7 TB | | library | 1.4 TB | | members | 1 | | updated | 2026-11-18 21:42 |
|
|
|
| | | |
| |
| | 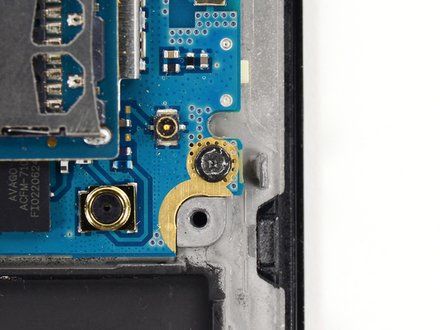
• Your screw is stripped, and your screwdriver is no longer sufficient. Before busting out the heavy hitters, try the following:
• Use different screwdrivers. First try slightly smaller or larger head sizes, then a flat head screwdriver, to see if you can get it to catch on some part of the stripped screw.
• CAUTION: If the bit doesn't catch the screw instantly, do not continue. Otherwise, you run the risk of further stripping the screw.
• If either of these techniques are fruitful, congrats! Your screw is free.
|
|
|
| | | |
| | 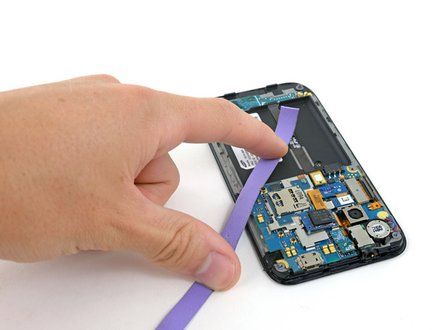
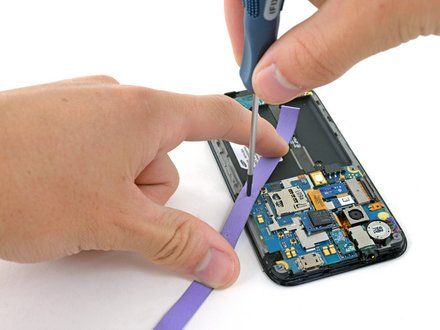
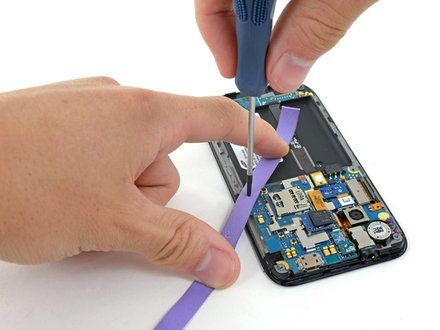
• NOTE: A rubber band can give you the extra grip you need.
• Stretch a rubber band over the stripped screw.
• NOTE: You can also use a thin piece of fabric.
• Insert a properly-sized screwdriver, and give it a turn.
|
|
|
| | | |
| | 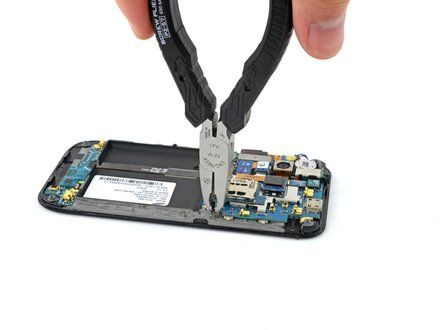
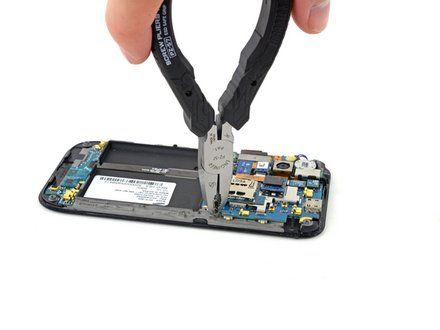
• If the screw head is accessible, try a pair of screw extracting pliers (https://www.ifixit.com/products/screw-extracting-pliers). If you can get a good grip, turn the pliers and the screw should turn along with it!
• Once the screw is loosened a bit, you can probably back it out the rest of the way using a screwdriver.
|
|
|
| | | |
| | 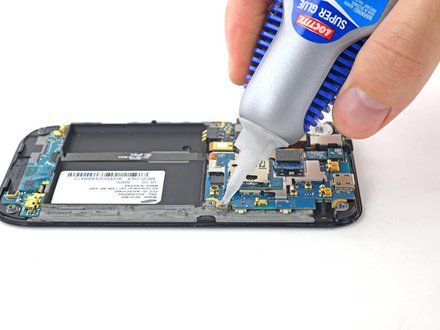
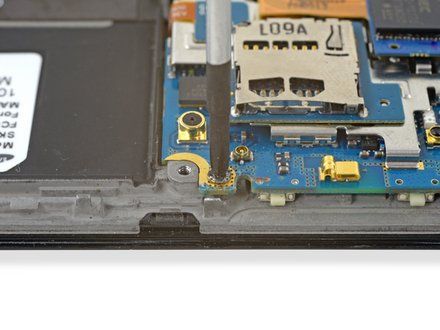
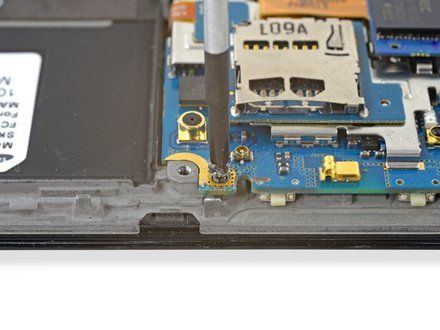
• Still stuck? Try adding a dab of superglue to the top of the screw.
• Set your driver into the screw head, and allow the glue to dry.
• Using a firm grip and downward pressure, give the driver a twist to remove the screw.
• NOTE: Don't forget to clean the remains of the glue from the tip of your driver.
|
|
|
| | | |
| | 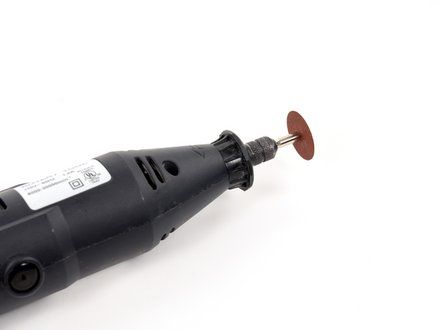
• NOTE: If you were unable to remove the screw with screwdrivers, pliers, a rubber band, or super glue, then a rotary tool should do the trick.
• Attach a thin cutting disk to your rotary tool. Before you cut anything, make sure the disk is secured well.
• CAUTION: Make sure you wear protective goggles anytime you use a rotary tool to prevent injuries from flying debris and sparks.
|
|
|
| | | |
| | 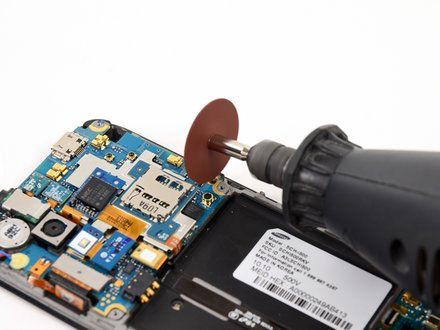
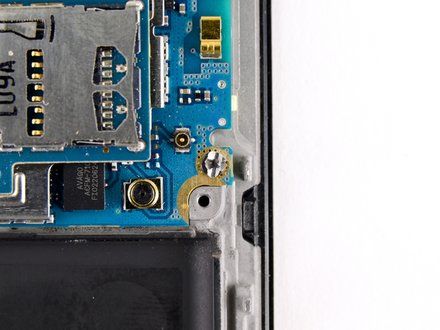
• NOTE: In this step, you will use the rotary tool to make a thin cut in the stripped screw that enables you to use a flathead screwdriver to remove the screw.
• NOTE: We recommend using a low power setting (we used 2 out of 6) to prevent damaging the rest of the device or the screw.
• NOTE: You want the cut to be deep enough that you can fit a flathead screwdriver into it, but thin enough that the screwdriver has something to grip.
• Make a single thin cut into the head of the stripped screw.
|
|
|
| | | |
| | 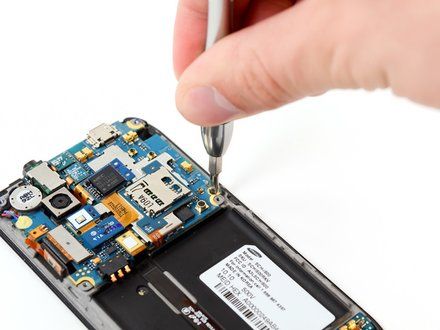
• Use a flathead screwdriver to remove the screw from the device.
• The size of the driver will depend on the size of the screw, but use the largest size that will fit in your cut.
• NOTE: If you cannot fit a screwdriver into the cut, use the rotary tool to make the cut larger. Make only small cuts; if you cut off too much of the screw, a screwdriver will not catch and you will not be able to twist the screw.
• CAUTION: Wear eye protection and give your device a few good blasts of compressed air before reassembling it. The rotary tool can scatter loose metal shavings around the device, creating the potential for an electrical short if not blown clear.
|
|
|
| | | |
| | | Check out the video in the intro for some additional tips on dealing with stripped screws. Always use a high-quality screwdriver. Low-quality screwdriver material will cause damage to screws. |
|
|
| | | |
|






















