|  | | Accounts are free. Join #retro on irc.fxnet.org, identify with NickServ and type !req. |
| |
|
|  | | |
| | #retro on irc.fxnet.org
6697 ssl · 6667 plain
modern + vintage clients welcome |
| |
|
| | | |
| | 3 people in #retro
okawari, synmuffin, thelounge76
nobody on the FTP
last upload: Archived Windows 3.0 - 11 ISO B... by archiveorg, 35d ago |
| as of 21:42 EST ·  |
|
|
| | | |
| | | releases | 2,186 | | last 24h | +0 | | online | 1.7 TB | | library | 1.4 TB | | members | 1 | | updated | 2026-11-18 21:42 |
|
|
|
| | | |
| |
| | 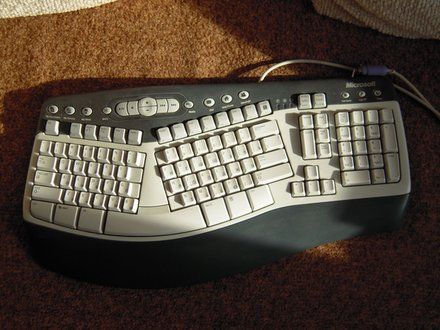
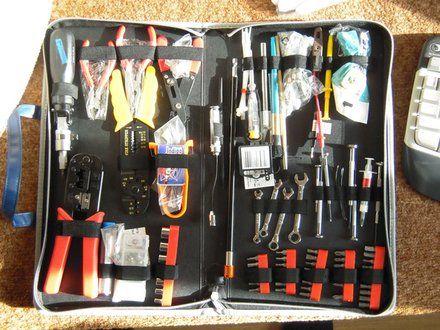
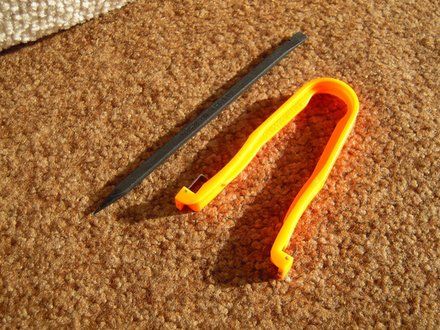
• A guide showing how to disassemble and clean a Microsoft Natural Multimedia Keyboard.
• You will need a spudger to remove the keys. An IC mounting tool can be helpful in replacing them.
|
|
|
| | | |
| | 
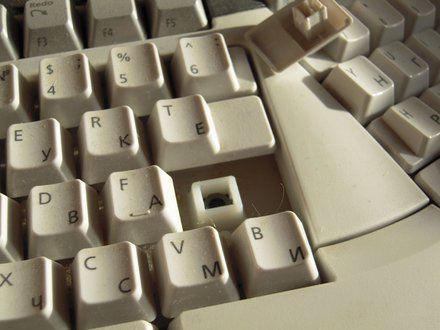
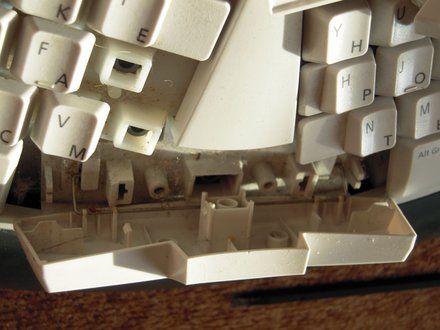
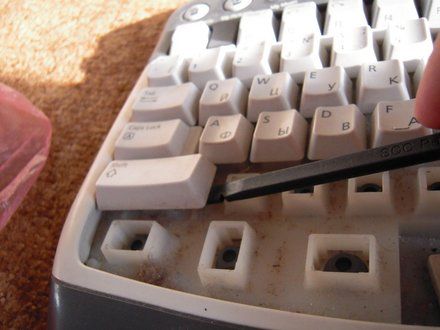
• Use the flat end of a spudger to pop the keys off the keyboard.
|
|
|
| | | |
| | 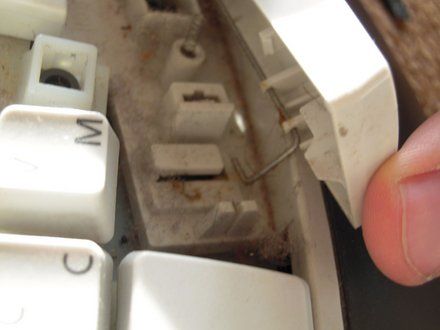
• Wider keys will have a retaining bar, take note of how they come off to make reassembly easier.
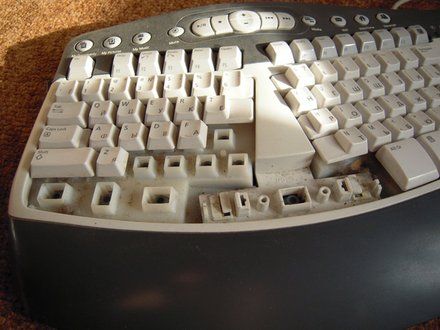
• Continue removing keys.
|
|
|
| | | |
| | 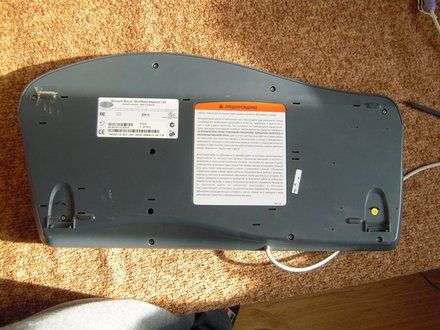
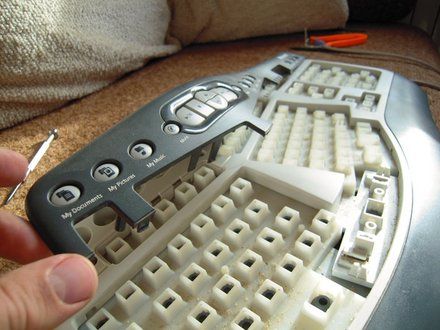
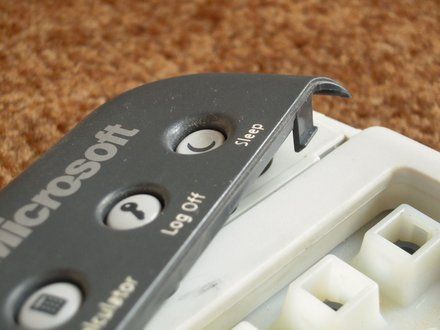
• Remove the 10 screws from the bottom of the keyboard.
• Remove the upper button assembly.
|
|
|
| | | |
| | 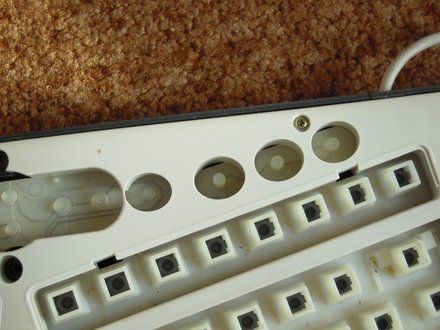
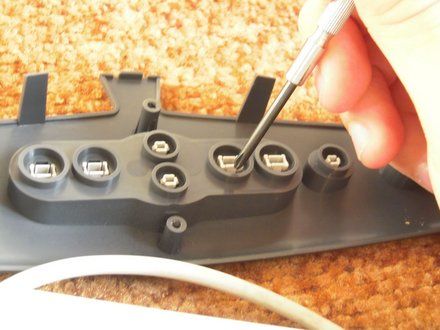
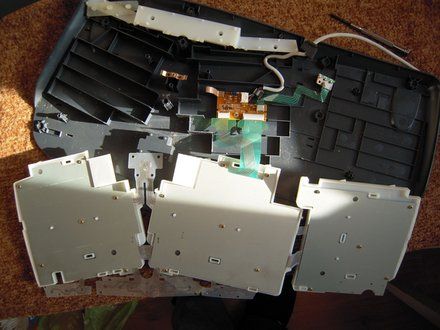
• Use the tip of a spudger to push the upper button assembly buttons out from the back.
|
|
|
| | | |
| | 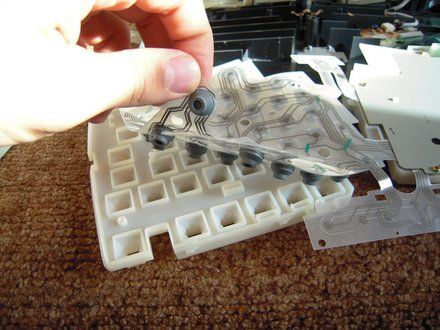
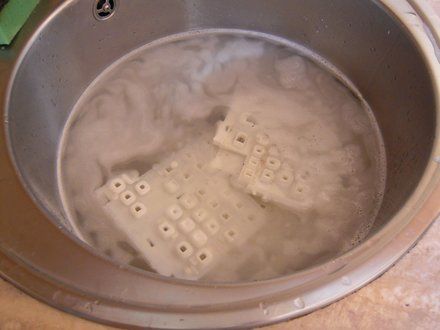
• Remove the flexible keypad from the key caddy assembly.
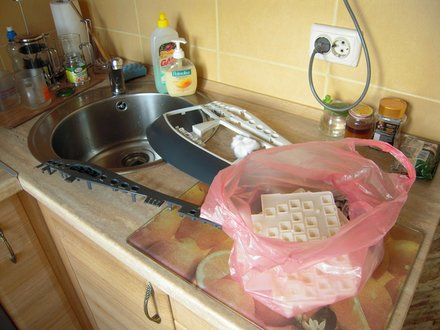
• The key caddies can be washed in the sink.
|
|
|
| | | |
| | 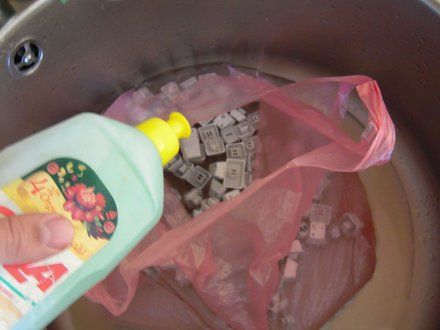
• The keys can also be washed.
• NOTE: Remove the metal retaining clips before washing to prevent rust.
|
|
|
| | | |
| | | To reassemble your device, follow these instructions in reverse order. |
|
|
| | | |
|


















